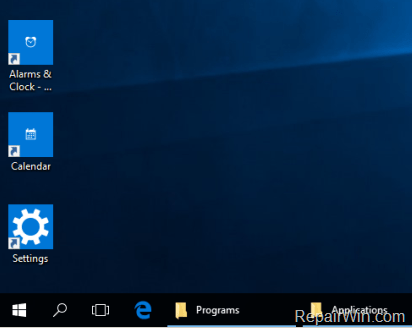
While some users prefer to have a clean desktop, there are others who prefer to create shortcuts on their desktop (to the most used programs) for their convenience. In previous Windows versions whenever you want to create a program shortcut to your desktop, you have to navigate to Start Menu > All Programs and after selecting the program you want, you have to right-click on it and then to choose Send to > Desktop (Create Shortcut), but n Windows 10 the way to create shortcuts to programs or applications has changed.

In this tutorial you will learn how to create a Program shortcut or a Store App shortcut to your desktop in Windows 10.
How to create shortcuts for Apps or Programs in Windows 10.
Method 1: Create shortcuts directly from Start menu.
The first method to create shortcuts in Windows 10 is easy and simple:
– To create a program shortcut to your desktop on Windows 10:
- Go to Start
 menu > All Apps , find and select the program you want and drag it to the desktop.
– To create an App shortcut on Windows 10 to your desktop:
- Go to Start
 menu, select the App (tile) you want and then drag it to the desktop.
Method 2. Create Shortcuts from Programs or Apps folder.
Use this method if you want to create shortcuts for many programs (A) or apps (B):
A. To create shortcuts to Programs:
- Right click on Start
 menu and select Run.
 - Type (copy/paste): C:ProgramDataMicrosoftWindowsStart MenuPrograms and hit OK.
- Find and right-click on the program you want and select Send to > Desktop (create shortcut).

B. To create shortcuts to Store Apps:
1. Right click on Start ![]() menu and select Run.
menu and select Run.
2. Type (copy/paste): shell:AppsFolder and hit OK.

3. Right click on the App that you want to create a shortcut and select Create Shortcut.

4. Ask Yes to create the shortcut of the selected app to the desktop.

That’s all folks! Did it work for you?
Please leave a comment in the comment section below or even better: like and share this blog post in the social networks to help spread the word about this.


