As you may know with Windows 10 you have the ability to create PDF files from any program, by using the virtual printer “Microsoft Print to PDF”. If you have accidentally deleted the “Microsoft Print to PDF” printer, continue reading this article to learn how you can re-add the “Print to PDF” printer driver on your Windows 10 PC.
How to re-Install Microsoft Print to PDF after Deleting it.
1. Open Programs and features in Windows Control Panel. If you don’t know how to do that:
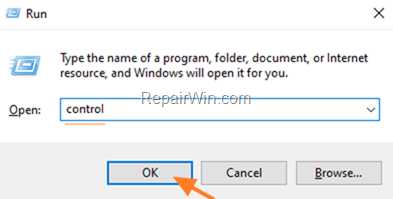
1. Press Windows + R keys to open the Run command box.
2. Type control & click OK.
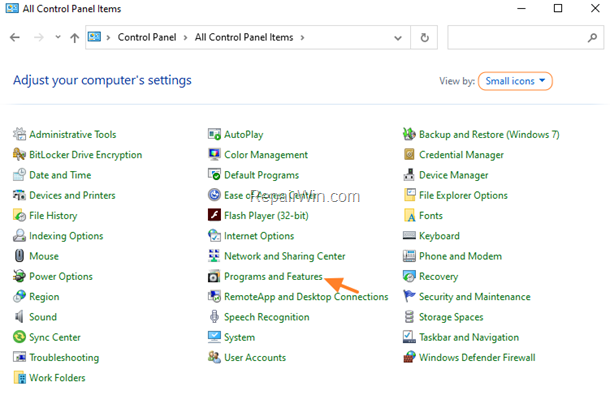
3. Set the View by to Small icons and then click Programs and Features.
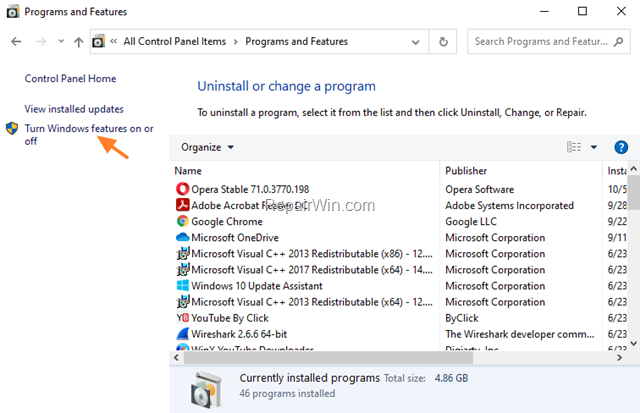
2. Click Turn Windows features on or off.
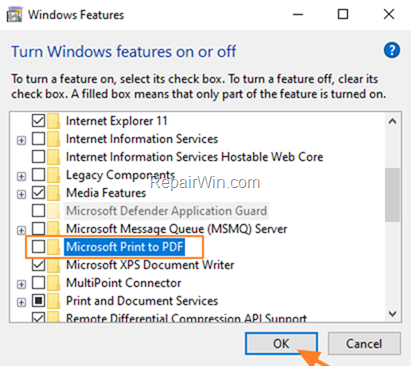
3. Uncheck the Microsoft Print to PDF feature and click OK.
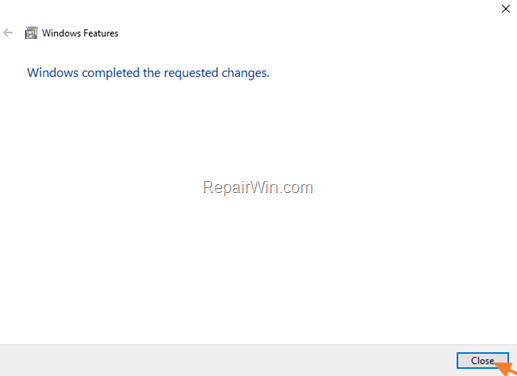
4. When Windows completes the required changes, click Close.
5. Click Turn Windows features on or off again.
6. This time, check the Microsoft Print to PDF checkbox and click OK.
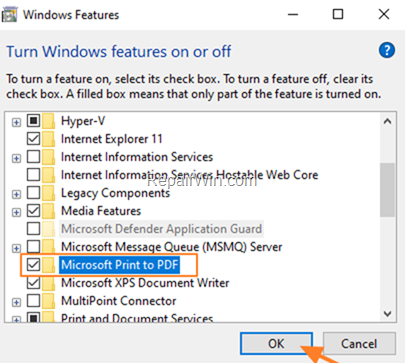
7. When Windows apply the change click Close and the then close the Programs and features window.
8. Navigate to Control Panel -> Device and Printers.
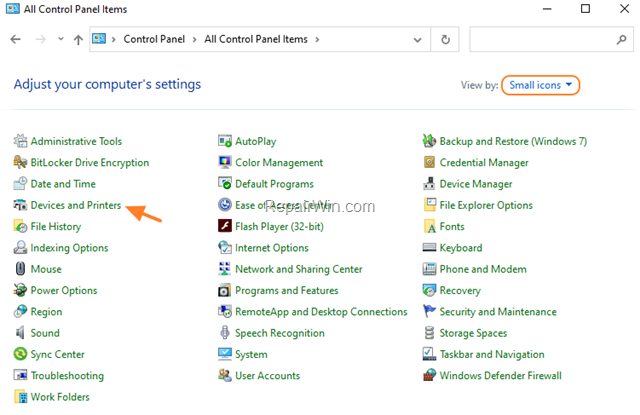
9. Normally, the Microsoft Print to PDF printer should be installed. *
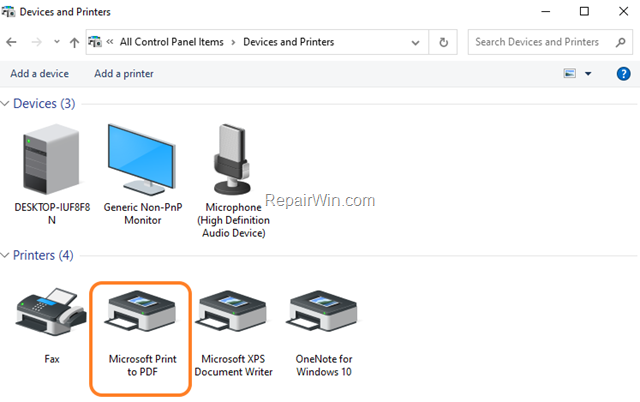
* Note: To create a PDF file from any program, go to File > Print and select the Microsoft Print to PDF printer.
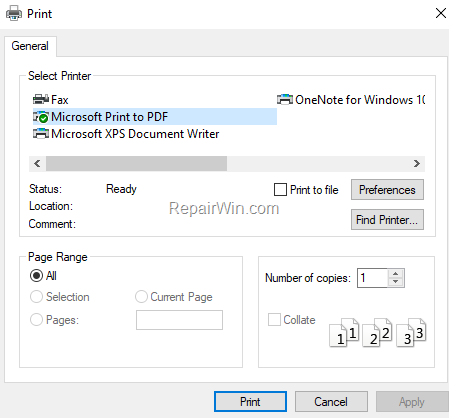
That’s all folks! Did it work for you?
Please leave a comment in the comment section below or even better: like and share this blog post in the social networks to help spread the word about this solution.
Bài liên quan
- FIX: Error 0x81000203 in System Restore. (Solved)
- Cannot Access Shared folder. User has not been granted the requested logon type at this computer. (Solved)
- FIX: Cannot clear TPM – 0x80284001, 0x80290300 or 0x80290304.
- Unable to Schedule Teams Meeting in 15 or 10 minutes slots (Solved)
- How to Share Folder without Username/Password on Windows 10/11.
- FIX: Thunderbird High CPU or Memory Usage issues.