.NET Framework, which used to to develop or run Windows applications, can sometimes have problems and needs to be repaired. This tutorial contains instructions on how to repair Net Framework in Windows 10 or 7 operating systems.
How to Repair .Net Framework on Windows 10 or Windows 7.
Part 1. How to Repair .Net Framework on Windows 10/8.1.
If you are running Windows 10 and you having problems with the .NET Framework, the only way to fix .NET Framework problems, is to uninstall and reinstall it on your system. To do that:
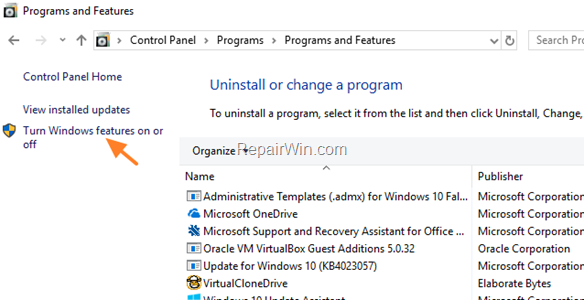
1. Open Programs and Features in Control Panel and then click Turn Windows features on or off.

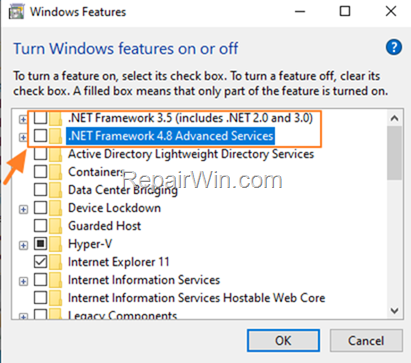
2. Uncheck the two (2) .NET Framework checkboxes and click OK to remove .NET FRAMEWORK.

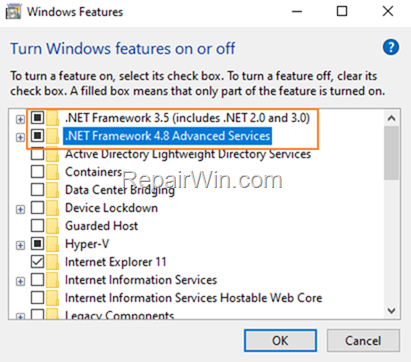
3. When the removal process is completed, restart the computer.
4. After restart, navigate again to Programs and Features > Turn Windows features on or off and check again the .NET Framework checkboxes to re-install it on your PC.

Part 2. How to Repair .Net Framework on Windows 7.
In Windows 7, you have the following options to repair .NET Framework.
Method 1. Repair NET Framework from Control Panel.
1. Navigate to Control Panel > Programs and Features.
2. Select the .Net Framework in the list of programs and choose Uninstall/Change.
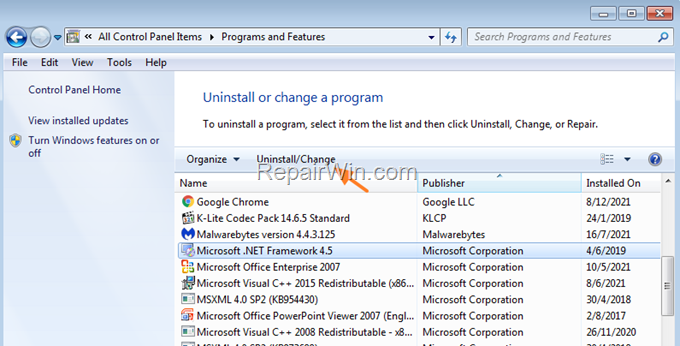

3. At the next screen, choose Repair .NET Framework to its original state and click Next.
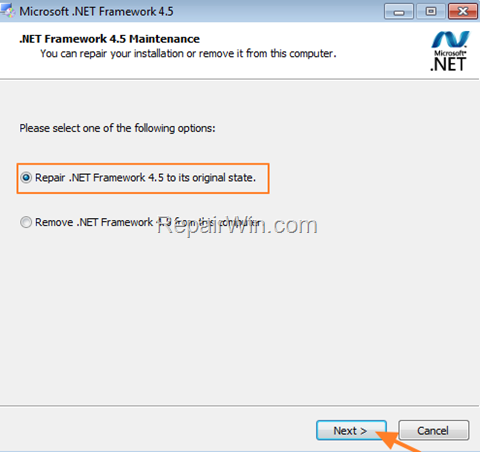

4. When the repair is complete, click Finish. .
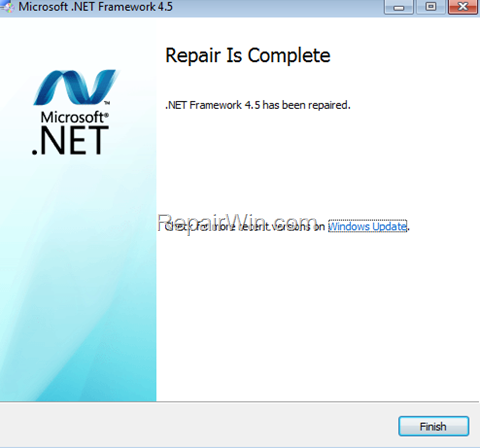

5. Restart your PC and then check if the Net Framework-related problem has been fixed
Method 2. Run the Microsoft NET Framework Repair Tool.
The second method to fix problems with NET Framework, is by using the Net Framework Repair Tool.
1. Download and run the Microsoft NET Framework Repair Tool.
2. Accept the license terms and click Next.
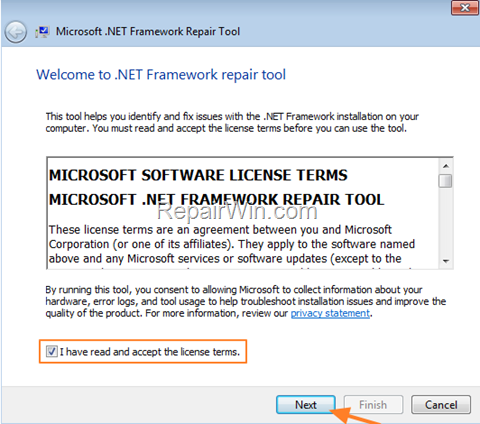

3. Click Next to Reregister and restart the Windows Installer Service.
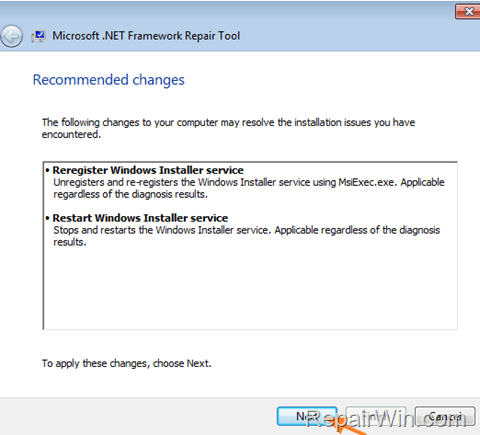

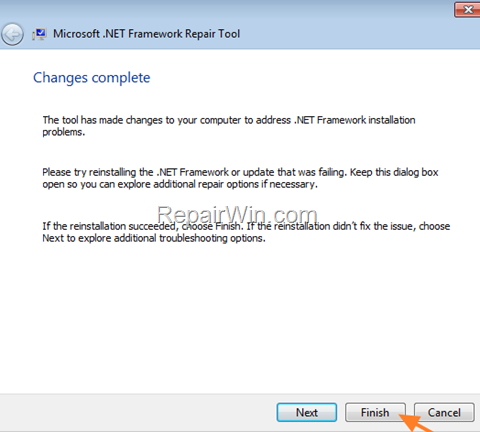
4. After repairing click Finish and check if the problem has been fixed.

Method 3. Uninstall & Reinstall NET Framework.
The final method to fix problems with NET Framework in Windows 7, is to completely remove and reinstall it on your PC. To do that:
1. Navigate to Control Panel > Programs and Features.
2. Select the .Net Framework in the list of programs and choose Uninstall/Change
3. Click Remove and then click Next to uninstall .Net Framework.
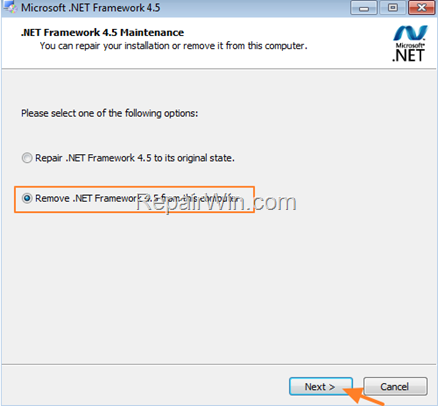

4. When the removal is completed, restart your machine.
5. Finally, proceed to download .NET Framework and reinstall it on your system.
That’s all folks! Did it work for you?
Please leave a comment in the comment section below or even better: like and share this blog post in the social networks to help spread the word about this problem.


