This tutorial will show you how to perform an in-place upgrade and repair a Windows 10 installation without loosing your personal files and settings. The in-place upgrade and repair process, gives you the opportunity to repair many Windows 10 problems and to upgrade Windows 10 with the latest updates, without having to re-format your computer.
How to perform a Repair Upgrade in Windows 10.
Step 1. Create a Windows 10 Install Media
1. Use Media Creation Tool by MS and create a Windows 10 USB or DVD installation media. Detailed instructions on how to do that you can find at the following articles:
- How to create a Windows 10 USB installation media
- How to create a Windows 10 DVD installation media
Step 2. Perform a Windows 10 repair.
1. Put the Windows 10 installation media on your computer.
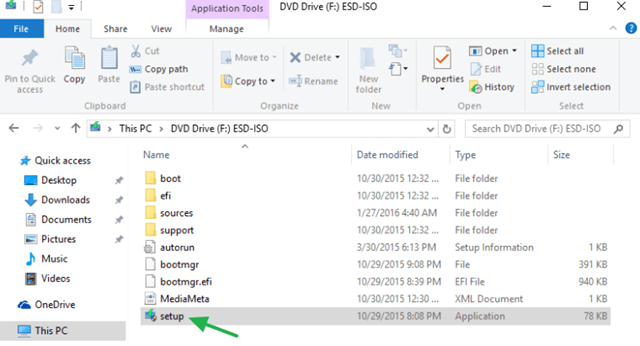
2. Open Windows explorer and double-click to run the Setup application from the Windows installation media.

3. Choose to Download and install updates (recommended) when asked and click Next.
![image_thumb[4] repair - reinstall Windows 10](https://qnet88.com/wp-content/uploads/2021/12/image_thumb4_thumb-11.png)
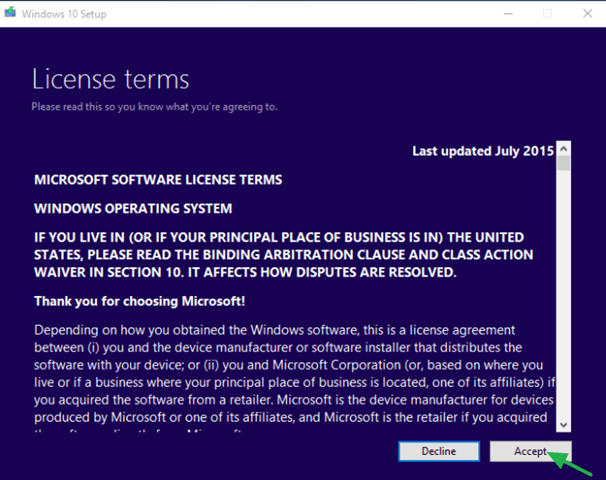
3. Accept the license terms.

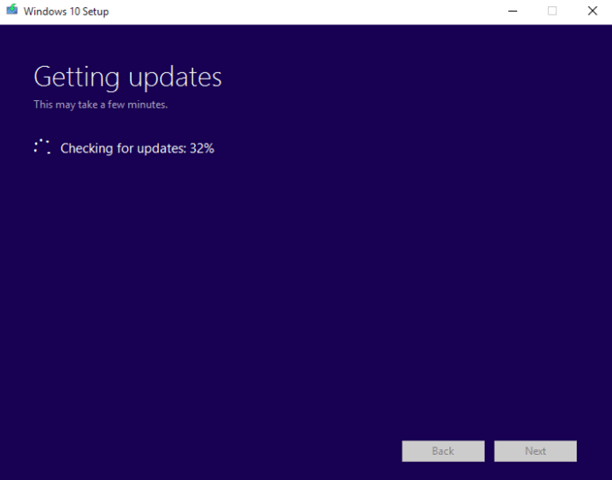
4. Wait until Windows gets all available updates,

5. Finally click Install to start the repair process.
![image_thumb[5] repair windows 10](https://qnet88.com/wp-content/uploads/2021/12/image_thumb5_thumb-1-4.png)
6. Be patient until the Windows 10 Setup upgrade and fixes your system.

7. After repair installation, login to your account normally.
That’s all folks! Did it work for you?
Please leave a comment in the comment section below or even better: like and share this blog post in the social networks to help spread the word about this.


