The System Preparation (Sysprep) tool is used to prepare a Windows machine for delivery to a customer. Also it is used to change the Windows SID (Machine’s Security Identifier (SID) and the computer’s name after disk imaging (cloning) a pre-configured Windows installation (configuration) to a whole organization.
How to SYSPREP a Windows 7, Windows 8 or Server 2008 machine.
In order to properly syspreping a Windows Windows 7 or Server 2008 computer make sure that:
1. You haven’t installed any security software (e.g. an antivirus software or firewall) on the source on the source Windows installation.
2. You haven’t upgraded your OS (Especially for Windows 8, 8,1 or Windows 10)) . Sysprep will not run on an upgraded OS. You can only run Sysprep on a custom (clean) install version of Windows.
To properly run sysprep on Windows 7, 8, or 10 OS:
1. Navigate to C:WindowsSystem32sysprep folder.
2. Right-click at sysprep.exe file and choose Run as administrator.

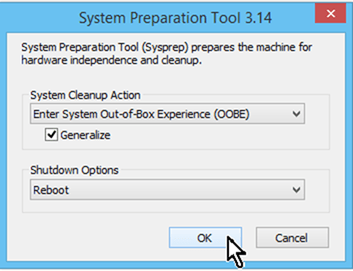
3. At System Preparation Tool, click to select the Generalize checkbox, leave the other settings* untouched and press OK.
* System Cleanup Action = Enter System Out-of-Box Experience (OOBE), Shutdown Options = Reboot
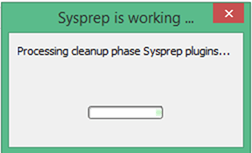
5. The sysprep operation should start.
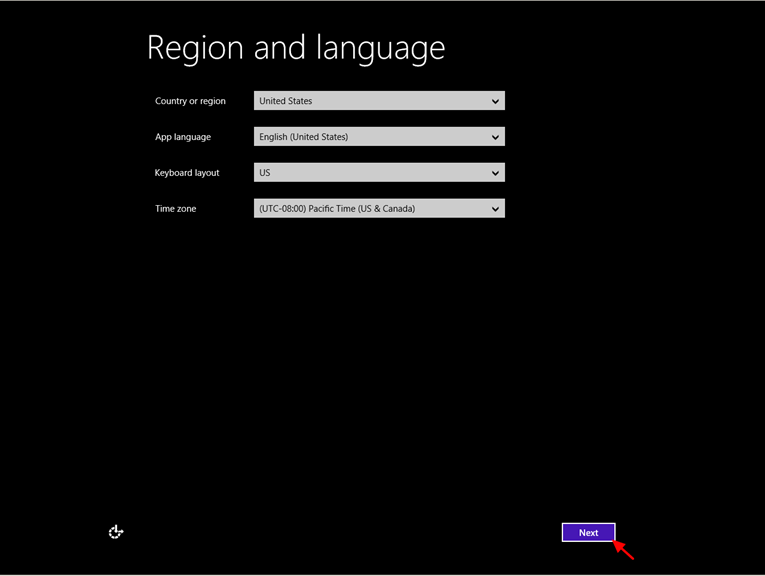
6. When your system restarts, choose your Country/ Region, Time and currency & Keyboard layout settings & press Next.
7. Accept the license terms
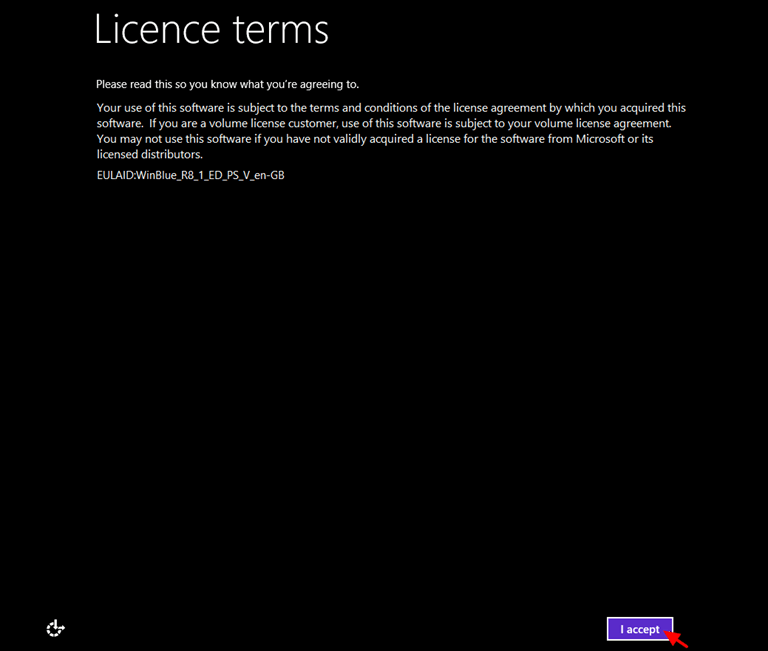
8. Continue to the rest screens to customize your new Windows installation.
That’s all folks! Did it work for you?
Please leave a comment in the comment section below or even better: like and share this blog post in the social networks to help spread the word about this solution.

