If you own Windows 11 or Windows 10/8.1 and the Windows Search crashes, freezes or not responding when you try to search or when clicking the search box, continue reading below to fix the problem.
Problem in details: Windows Search crashes and then becomes unresponsive when the user clicks the Search box on the taskbar or in Windows Explorer and then Explorer restarts. The problem can affect both Windows 8.1 and Windows 10 for no apparent reason.
How to FIX: Windows Search is Crashing, Freezing, or Unresponsive in Windows 10/11.
Method 1. Delete Corrupt Registry Entries for ‘Search’.
Usually when the Windows Search is not working, this indicates a corrupted entry in ‘Search’ registry key. To delete corrupted ‘Search’ registry entries, proceed as follows:
1. Open Registry Editor: to do that:
1. Press Windows
+ R keys to open the run command box.
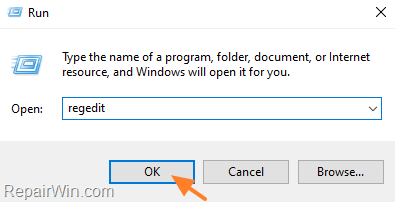
2. Type regedit and press Enter.

3. In Registry Editor navigate to the following key at the left pane:
- HKEY_CURRENT_USERSOFTWAREMicrosoftWindowsCurrentVersionSearch
4. Highlight the Search key on left pane and go to File > Export to take a backup of the current registry entries in case something goes wrong.


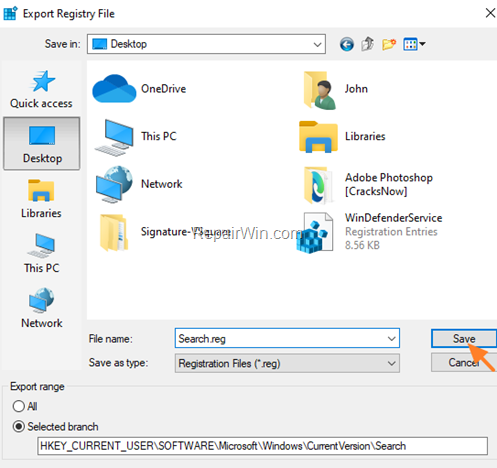
5. Give a name for the exported registry file (e.g. “Search.reg”) and Save the file to your Desktop.

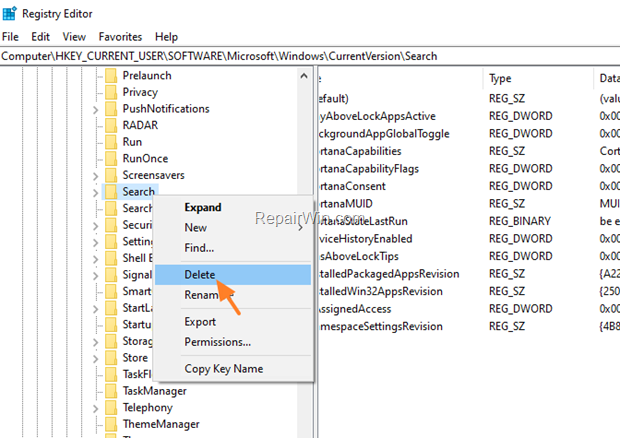
6. When done, right-click at the Search key and Delete it. (Click Yes when prompted).

7. Close the Registry Editor and restart your PC.
8. After restart, try 2-3 times to perform a search. (At first nothing will happen, but after trying 2-3 times the Search will start working without crashing).
Method 2. Repair Disk & System Files.
Step 1. Repair Disk Errors.
1. Open Command Prompt as Administrator. To do that:
1. Press the Windows
+ R keys to open the ‘Run’ command box
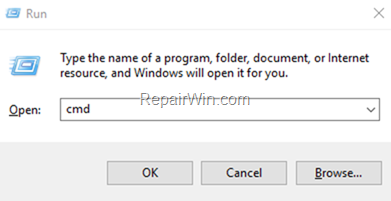
2. Type CMD and then press CTRL + SHIFT + ENTER.
2a. At command prompt give the following command to repair your disk and press Enter.
- chkdsk C: /R
2b. Press the Y key and Enter to schedule the checking at the next restart.
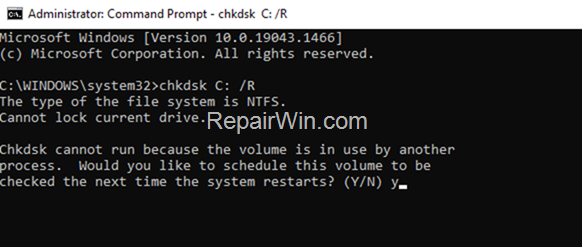

3. Restart your computer and be patient until the disk check and repairing process is complete.
Step 2. Repair Windows System Files.
After restart, proceed and repair Windows by using the DISM and SFC commands.
1. Open Command Prompt as Administrator.
2. In command prompt give the following command and press Enter:
- DISM.exe /Online /Cleanup-image /Restorehealth


3. When the DISM operation is completed, type the following command and hit Enter:
- sfc /scannow


4. Now wait until the System File Checker repairs the Windows System Files.
5. When this done, restart your computer.
6. After restarting, check if the search problem is resolved.
Method 3. Fix Windows Search by Re-registering Modern Apps.
1. Press the Windows ![]()
![]() + R keys to open the ‘Run’ command box
+ R keys to open the ‘Run’ command box
2. Type powershell and then press CTRL + SHIFT + ENTER to open Windows PowerShell as Administrator.


3. At PowerShell (copy &) paste the the following command & press Enter:
Get-AppXPackage | Foreach {Add-AppxPackage -DisableDevelopmentMode -Register “$($_.InstallLocation)AppXManifest.xml”}


4. When the deployment operation process is completed, ignore any errors and close the PowerShell window.
5. Reboot your computer and then try to perform a search.
Method 4. Fix Windows Search problems by Repairing Windows 10/11.
If you still face problems with the search function in Windows 10, then perform a repair of your Windows 10 installation by using the instructions mentioned in this article: How to repair Windows 10.
That’s all folks! Did it work for you?
Please leave a comment in the comment section below or even better: like and share this blog post in the social networks to help spread the word about this solution.


