On a Windows 10 computer the process “ShellExperienceHost” causes CPU high usage. The ShellExperienceHost.exe process with description “Windows Shell Experience Host”, is part of Windows Operating System and the executable file is located at “C:WindowsSystemAppsShellExperienceHost_cw5n1h2txyewy” folder.
The “ShellExperienceHost” app is responsible for the start menu in Windows 10, but sometimes the app hangs and the Start menu is not working or consumes many CPU resources even when the system is idle.
In this tutorial you will find instructions to resolve “ShellExperienceHost.exe” high CPU (or Memory) usage problems or to resolve the Start menu not working (or freezing) issues on Windows 10.
How to FIX: ShellExperienceHost.exe 100% CPU Usage and Start menu problems in Windows 10.
Method 1. Scan your system for Viruses and Malware.
The first step to resolve the “Windows Shell Experience Host” high CPU usage problem, is to ensure that your system is virus/malware free. For that task follow the instructions in this guide: How To Scan Your Computer for Viruses and other Malicious Programs.
Method 2. Re-Register the Windows Shell Experience Host App.
The second method to fix problems with the “Shell Experience Host” app, is to re-register the ‘Microsoft.Windows.ShellExperienceHost’ for the current user account. To do that:
1. Open PowerShell as Administrator.
2. In Power Shell type the following command and press Enter:
- Get-AppxPackage Microsoft.Windows.ShellExperienceHost | Foreach{Add-AppxPackage -DisableDevelopmentMode -Register “$($_.InstallLocation)AppXManifest.xml”}
Method 3. Re-install Shell Experience Host package for the user account.
1. Open Command Prompt as Administrator. To do that:
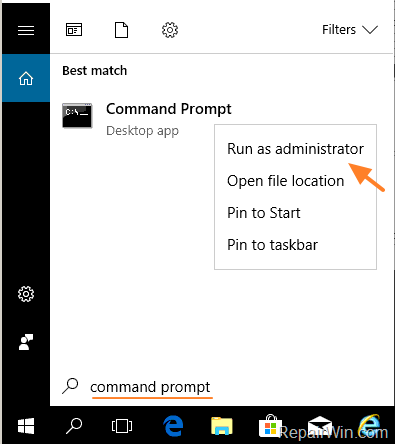
- At the search box type: command prompt or cmd
- Right-click at Command Prompt result and select Run As Administrator.
2. At command prompt type the following command to enable the hidden “Administrator” account and press Enter.
- net user administrator /active:yes
3. Close command prompt.
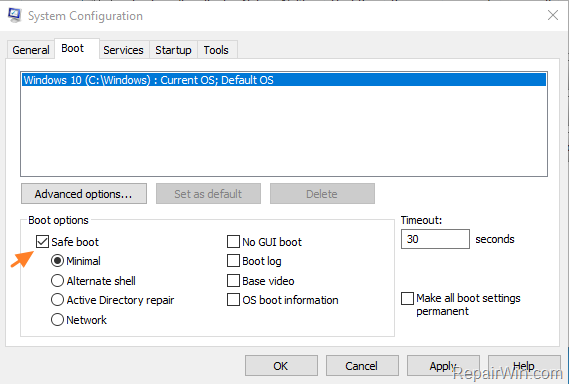
4. Restart Windows in Safe mode. To do that:
- Press the Windows
 + R keys to open the run command box.
 - Type msconfig and press Enter.
- Press the Windows
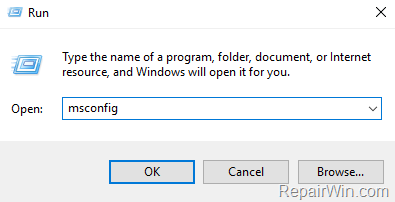
- At Boot tab select the Safe Boot option, then click OK and restart your computer.
5. After restart, Sign-Out from the current user and login as Administrator.
6. Open Windows Explorer and navigate to C:Users%Username%AppDataLocalPackages folder.
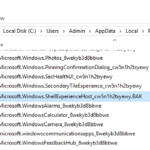
7. Rename the “Microsoft.Windows.ShellExperienceHost_cw5n1h2txyewy” folder to “Microsoft.Windows.ShellExperienceHost_cw5n1h2txyewy.BAK”
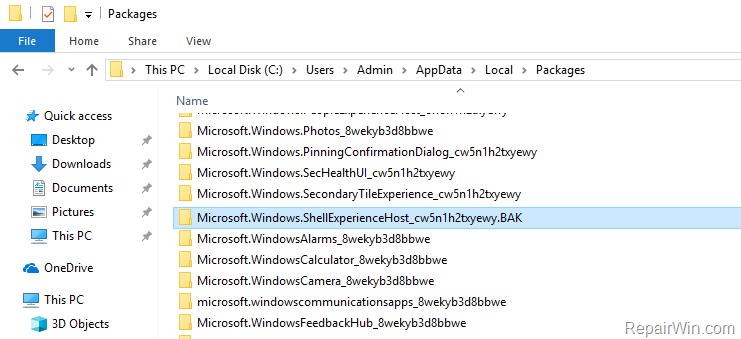
8. Restart Windows Normally. To do that:
- Press the Windows
 + R keys to open the run command box.
 - Type msconfig and press Enter.
- At General tab select the Normal startup option, then click OK and restart your computer.
- Press the Windows
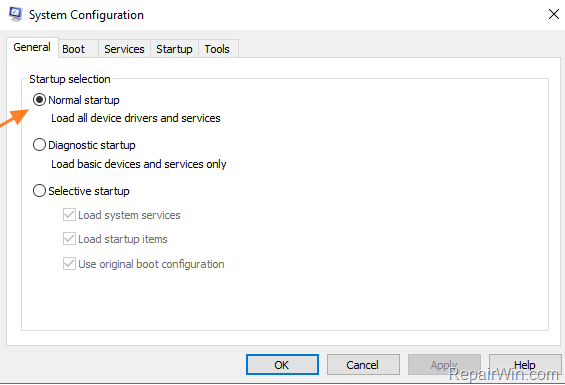
9. After restart, Sign-Out from the Administrator account and login to your account. (Windows will re-install automatically the “Windows Shell Experience Host” package to your user profile.)
Method 4. Repair Windows 10.
The final method to resolve the ShellExperienceHost.exe poblems, is to repair Windows 10 with In-Place Upgrade.
That’s all folks! Did it work for you?
Please leave a comment in the comment section below or even better: like and share this blog post in the social networks to help spread the word about this solution.

