If you own a wireless-capable HP printer, connected via a USB cable and you want to change its connection to wireless, then read this tutorial to accomplish this task. The instructions, are useful if you don’t have a WPS-capable router or if you want to reconfigure the printer’s wireless settings, in case your have changed your wireless router.
How to connect a USB connected printer to the wireless network.
1. From printer’s panel, press the Wireless button ![]() to turn on the wireless. *
to turn on the wireless. *
* Note: If you have connected before your printer to another wireless network, then hold down the Wireless button ![]() and the Cancel button X from printer’s control panel, to restore the Wireless network settings to default. (This procedure works on most HP Printer models. Please ensure from your printer’s manual that the reset process is correct.)
and the Cancel button X from printer’s control panel, to restore the Wireless network settings to default. (This procedure works on most HP Printer models. Please ensure from your printer’s manual that the reset process is correct.)
2. Connect you printer to your computer using a USB Cable.
3. Download and install the latest Full Feature Software and Drivers for your printer from HP Printer Support site.
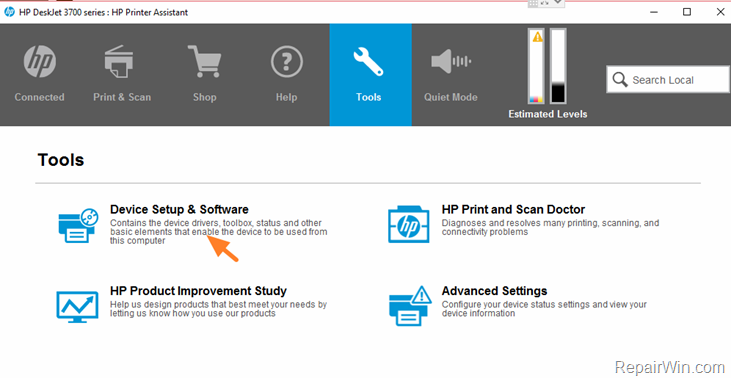
4. After installing the printer software, open the icon with you printer name to launch the HP Printer Assistant.
5. Click Device Setup & Software.
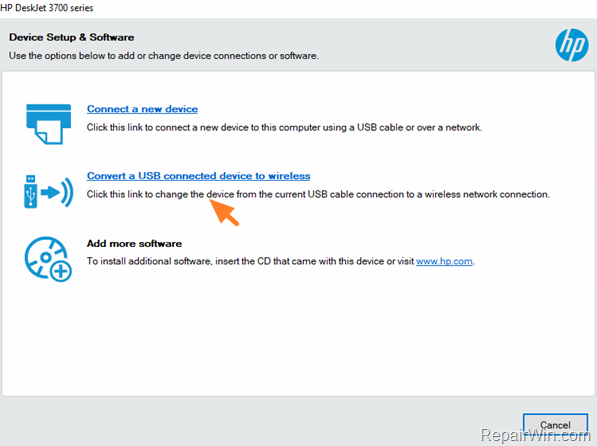
6. Click Convert a USB connected device to wireless.
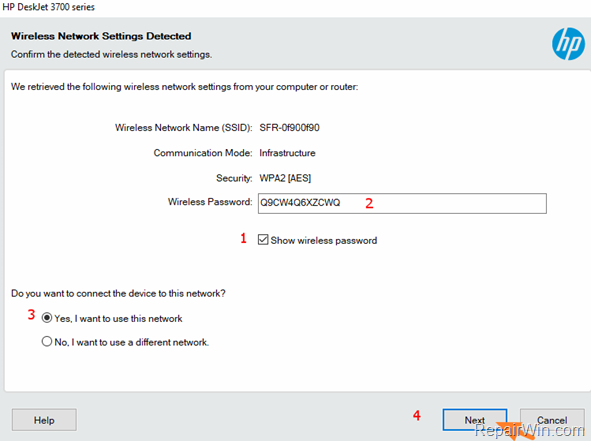
7. At Wireless settings, verify that the Wireless Network Name (SSID) is the correct. Then…
1. Click to Show wireless password.
2. Make sure that the Wireless Password is correct (otherwise type your Wireless password).
3. Select Yes, I want to use this network.
4. Click Next.
8. Wait until the wireless configuration is completed.
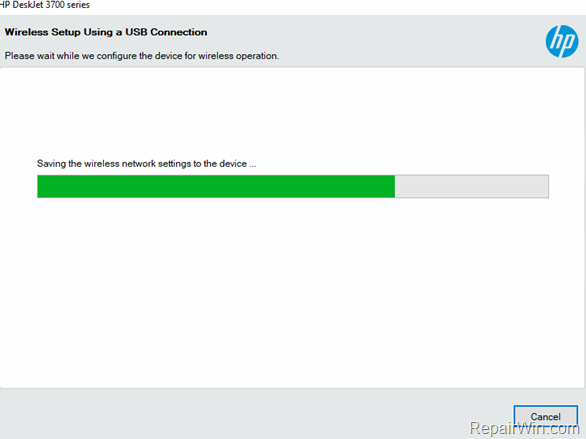
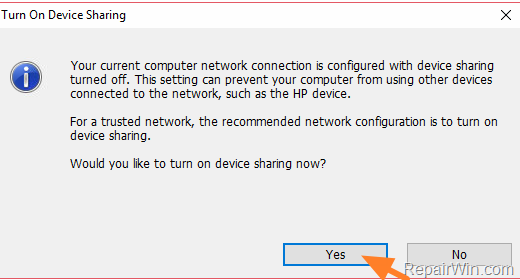
9. When asked, click Yes at Device Sharing.
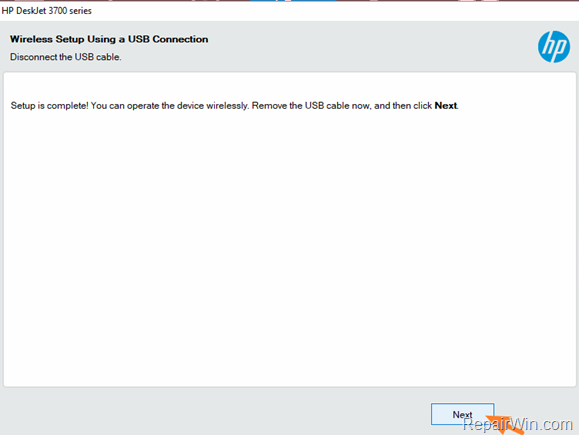
10. When the Wireless setup is completed remove the USB cable and click Next.
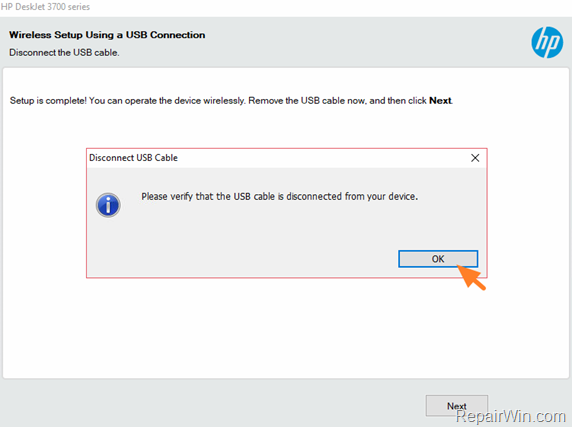
11. Click OK to verify the USB cable removal.
12. You ‘re now ready to use your HP Printer wirelessly.
That’s all folks! Did it work for you?
Please leave a comment in the comment section below or even better: like and share this blog post in the social networks to help spread the word about this solution.

