Windows Memory Diagnostics, is a free memory diagnostic tool that included with Windows Operating systems. With Windows Memory Diagnostic utility you can test and diagnose your computer’s memory RAM for problems, in cases that you face problems with your computer stability, like crashes, blue screens, or if your computer becomes unresponsive.
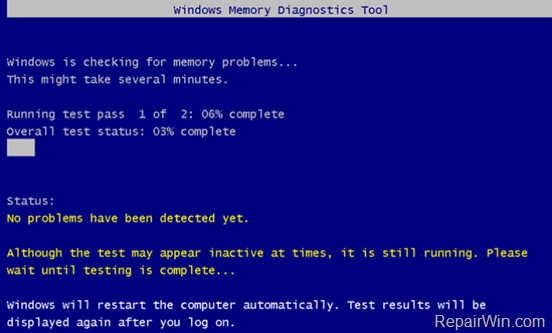
The RAM Memory error diagnosis is a required step when troubleshooting computer problems or when you want to ensure that your computer is stable, because the RAM chips are one of the most important components to any computer.
Keep in mind that the best way to test your RAM for problems, is outside the OS. For this action the better tool to diagnose your RAM for errors, is the free Memtest86 memory Diagnostic utility
In this tutorial you ‘ll learn how to check Memory RAM for problems with the Windows Memory Diagnostics tool.
How to Diagnose RAM Memory for errors with Windows Memory Diagnostics. (Windows 10, 8, 7 & VIsta)
To launch the Windows Memory diagnostic utility in Windows 10, 8, 7 or Vista.
1. Press Windows ![]() + R keys to open the run command box.
+ R keys to open the run command box.
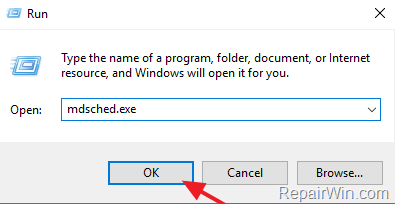
2. In the Search box, type: mdsched.exe & click OK.
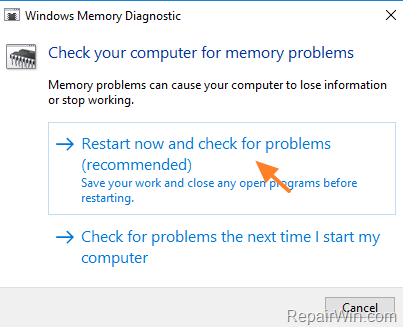
3. Choose the Restart now and check for problems (recommended) option.
4. Wait while Windows is checking for Memory problems.
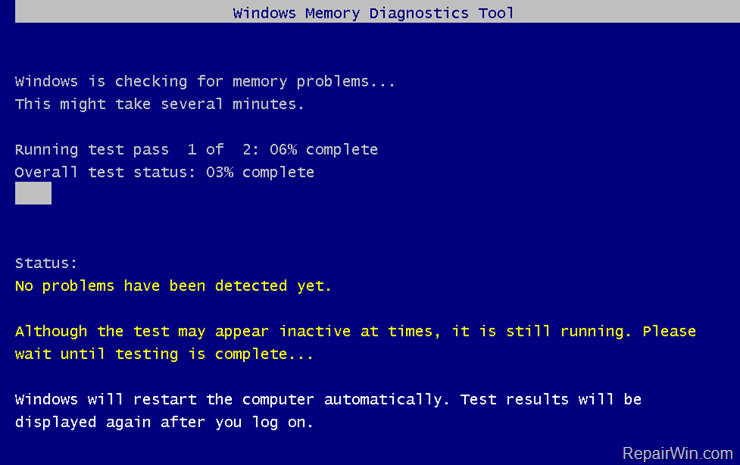
If there is any problem with your RAM, turn off your computer and try to remove and reinsert the RAM stick. If the problem persists then you must replace the faulty RAM *
Note 1. If you had installed more that one RAM sticks, then test them individually until you find out which of them is damaged.
Note 2. Test your good RAM stick on all available motherboard’s memory slots in order to ensure that all Memory slots are in good condition.
That’s all folks! Did it work for you?
Please leave a comment in the comment section below or even better: like and share this blog post in the social networks to help spread the word about this solution.

