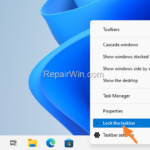
Windows 10, like previous versions of Windows, has the ability to lock the taskbar to keep it in one place so that it can’t be accidentally moved or changes can’t be made to the taskbar icons. Unfortunately, with Windows 11, Microsoft removed the ability to lock the taskbar or move the taskbar to a different side of the screen (e.g. to the top), because they redesigned the taskbar from scratch and didn’t consider these features important.
In this tutorial you’ll learn how to lock or move the Windows 11 Taskbar to another position on screen..
How to Lock Taskbar in Windows 11. *
* Note: At the date of writing this article (5 June 2022), the only reliable way to Lock Windows 11 taskbar or to change its position on screen, is to use third parties utilities. In this article I use the “Explorer Patcher” utility from GitHub because its free, reliable and gives you the ability to customize Windows 11 to feel like Windows 10.
1. Download the setup file or Explorer Patcher utility from GitHub.
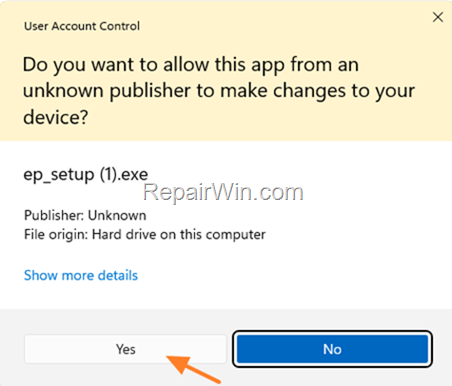
2. Run the installer file (ep_setup.exe) and ask Yes to UAC warning.

3. The screen will flash for 1 sec. When this happens, the program is installed and you will see the familiar taskbar of Windows 10 on Windows 11.
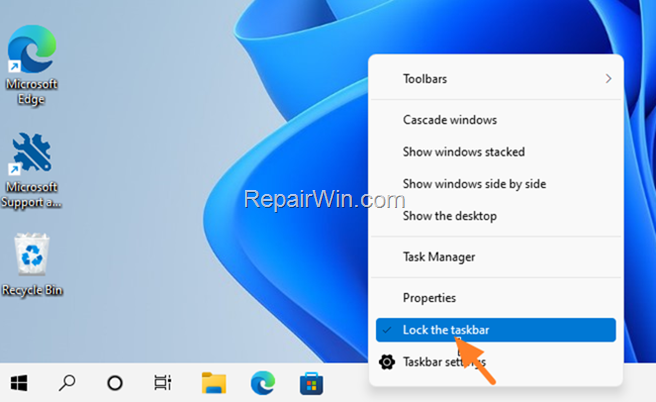
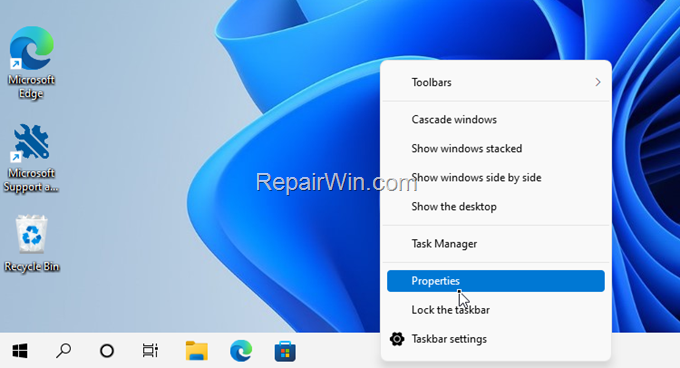
4. Right-click an empty space on the taskbar and click Lock the taskbar to lock the taskbar in place. (By locking the taskbar you will not be able to change its position on the screen or remove, add or change the position of its icons). *
* Note: To unlock the taskbar, just right-click and again and click again to Lock the taskbar option to uncheck it.

How to Move Windows 11 Taskbar to another location on screen.
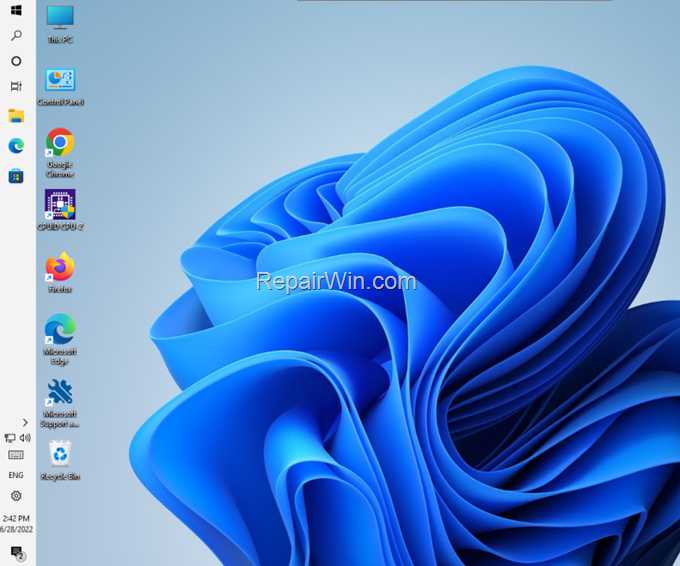
To change the location of Windows 11 taskbar on screen (e.g. on the left side):
1. Download and install Explorer Patcher utility. (if you haven’t already done so).
2. Click at an empty space on the taskbar and, without releasing your finger from the mouse button, drag the taskbar to the desired position on the screen, then release the mouse button.

How to Customize other Windows 11 settings with Explorer Patcher?
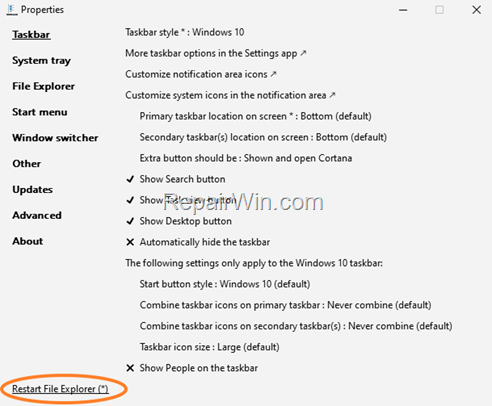
To customize other Windows 11 settings within Explorer Patcher, right-click at an empty space on the taskbar and select Properties.

Conclusion: Explorer Patcher is a great program to customize Windows 11 the way you want. Feel free to play with the available options and don’t forget to “Restart File Explorer” to apply the changes. Also, if you’re happy don’t forget to Donate its publisher on GitHub.

That’s all folks! Did it work for you?
Please leave a comment in the comment section below or even better: like and share this blog post in the social networks to help spread the word about this solution.


