In most cases there is no reason to stop Windows to download and install driver updates automatically. But, if you face a problem, then keep reading this tutorial.
Windows automatically downloads and installs the latest drivers for your computer to keep it up to date. Although this is useful because it fixes problems on your computer in most cases, it can cause problems in other, especially if an updated driver is not compatible with your system or causes other problems.
If you are in such a position and a new driver update is causing problems on your device, then in this article you will learn how to prevent Windows from automatically downloading and installing driver updates.
- Read also: How to prevent a specific Windows 10 Update or Driver from installing.
How to Disable Automatic Driver Updates in Windows 10/11.
Method 1. Stop Automatically Driver Update in Windows 10/11 System Settings.
To first way to prevent Windows to download and install driver updates automatically, is the following:
1. Press Windows ![]()
![]() + R keys to open the Run command box.
+ R keys to open the Run command box.
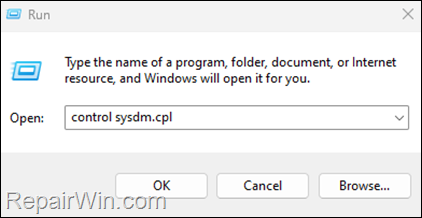
2. Type control sysdm.cpl and press OK (or Enter) to open the System Properties.

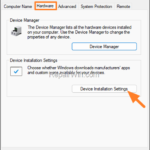
3. In System Properties window, select the Hardware tab and then click Device Installation Settings.
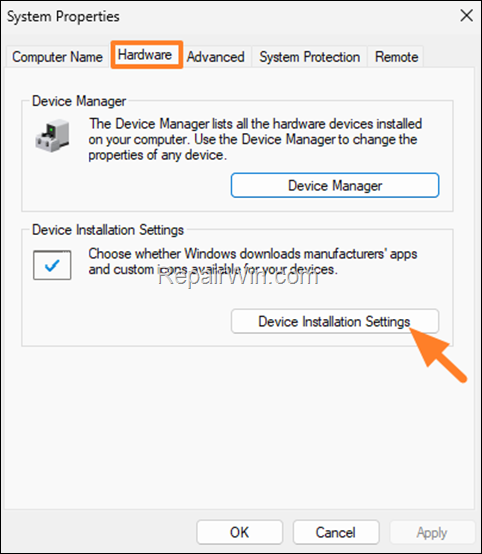

4. Finally in Device Installation settings window, select No (your device might not work as expected) and click Save Changes.


Method 2. Prevent Windows to Automatically Download Driver Updates though Registry. *
The next method for disabling automatic driver downloads on Windows 10/11 is by using registry: *.
* Note: if you own Windows 10 or Windows 11 Pro, it is recommended to use the method-3 below.
1. Open Registry Editor. To do that:
1. Press Windows
+ R keys to open the run command box.
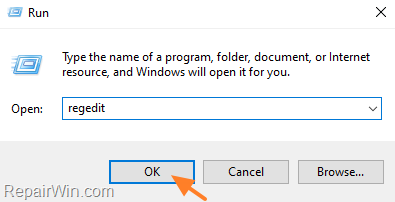
2. Type regedit and press Enter.
2. In Registry Editor, navigate to the following location:
- HKEY_LOCAL_MACHINESOFTWAREPoliciesMicrosoftWindowsWindowsUpdate
3. Right-click at WindowsUpdate key and select New > DWORD (32-bit) Value.
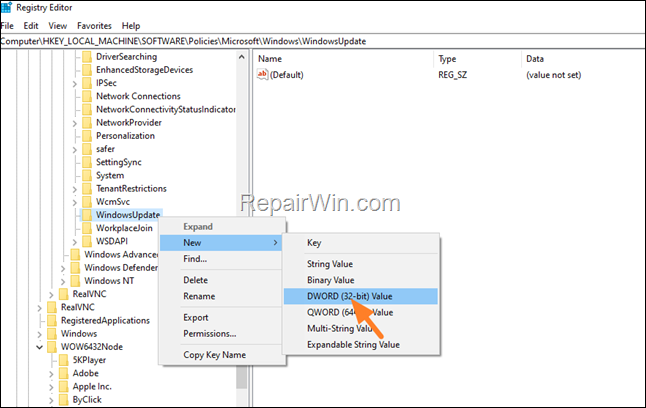

4. Name the new value as ExcludeWUDriversInQualityUpdate and hit Enter.
5. Finally open the newly created value and set its value data to 1
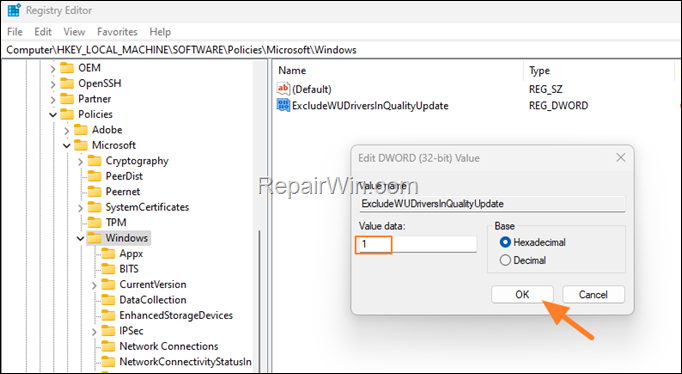

6. Close the registry editor and restart your computer to apply the change. *
* Note: To re-enable the automatic driver update, set the ExcludeWUDriversInQualityUpdate value to 0, or delete it from the above mentioned registry location
Method 3. Disable Automatic Driver Updates with Group Policy.
If you using Windows 11/10 Pro version, then proceed and stop Windows to download driver updates automatically, using Group Policy.
1. Open the Group Policy Editor. To do that:
1. Press simultaneously the Windows
+ R keys to open the run command box.
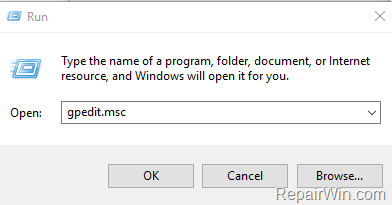
2. Type gpedit.msc & press Enter to open the Group Policy Editor.
2. At the left pane of the Group Policy Editor window, navigate to:
- Computer Configuration > Administrative Templates > Windows Components > Windows Update > Manage updates offered from Windows Updates
3. At the right pane open the Do not include drivers with Windows Updates policy.
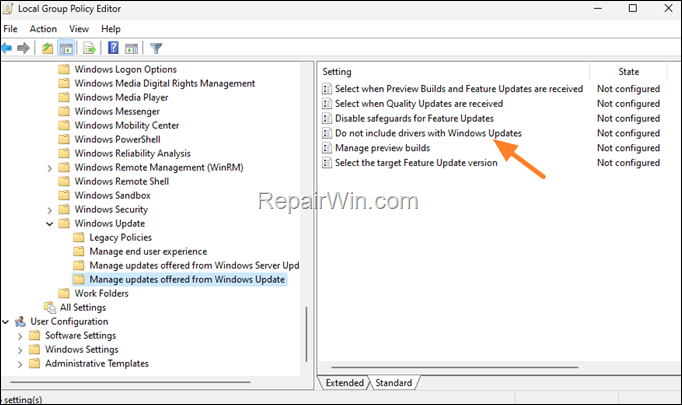

4. Set the policy to Enable and click OK.
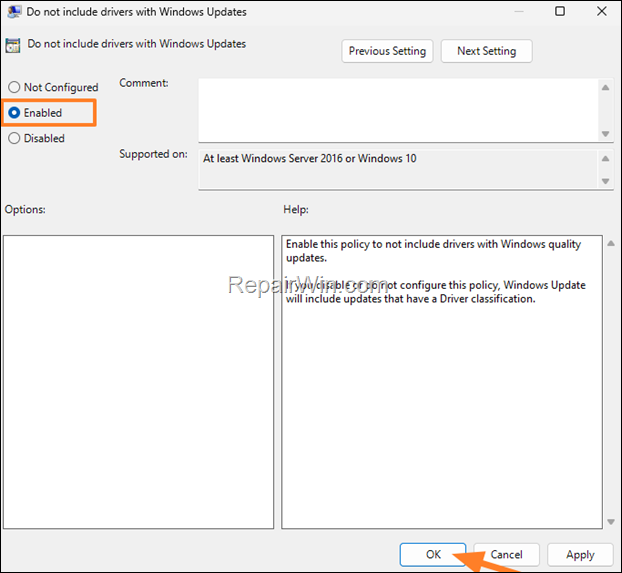

5. Close the Group Policy Editor and you done!
That’s all folks! Did it work for you?
Please leave a comment in the comment section below or even better: like and share this blog post in the social networks to help spread the word about this solution.


