If you want to backup or to transfer the VPN connections to another computer, continue reading this tutorial. In all Windows versions, there is not an obvious way to export the VPN settings (VPN Server name, IP Address, Username, Password, etc.), in order to import them to another computer, but you can do that easy, if you follow the instructions below.
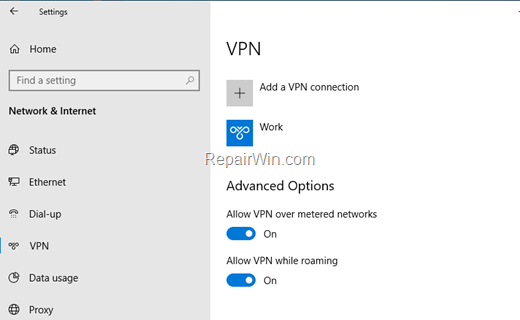
How to Export/Import VPN Connection Settings to Another Computer in Windows 10/8/7 OS).
Step 1. Backup the VPN Connection Settings.
1. Press the Windows ![]() + R keys to open the run command box.
+ R keys to open the run command box.
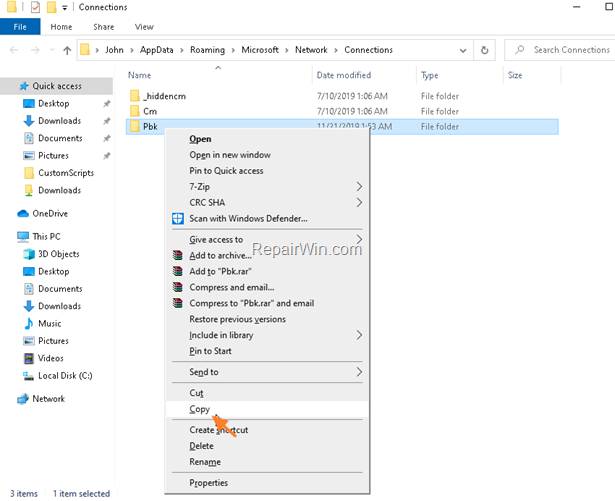
2. Type (copy/paste) the following command and press Enter:
- %AppData%MicrosoftNetworkConnections

3. To back up the VPN settings copy the Pbk folder to your backup location. (e.g. in your USB drive).
Step 2. Export the VPN Connections Credentials.
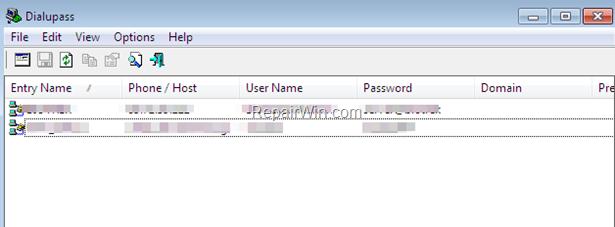
Now proceed to view and export the VPN credentials (username and password) to a text file.
1. Download the Dialupass utility from Nirsoft. *
* Note: The Dialupass utility displays all dialup/VPN entries on your computer and their logon details: User Name, Password, and Domain. You can use it to recover a lost password of your Internet connection or VPN. Dialupass also allows you to save the dialup/VPN list into text/html/csv/xml file, or copy it to the clipboard.
2. Extract the .zip file and then run the Dialuppass.exe

3. Note the Username and the Password for the VPN connection(s), or select all VPN connections and go to File menu -> Save Selected items to save the VPN settings to a text file.
Step 3. Transfer the VPN Connections to another PC.
To restore the VPN connection settings, to another computer:
1. Press the Windows ![]() + R keys to open the run command box.
+ R keys to open the run command box.
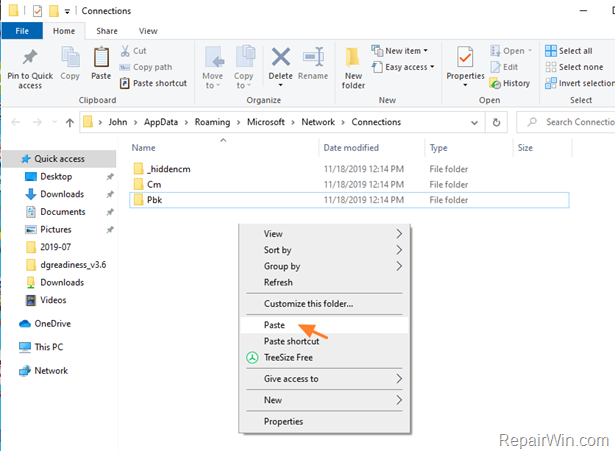
2. Type (copy/paste) the following command and press Enter:
- %AppData%MicrosoftNetworkConnections
3. Copy and Paste the Pbk folder from the backup location and close the File Explorer.
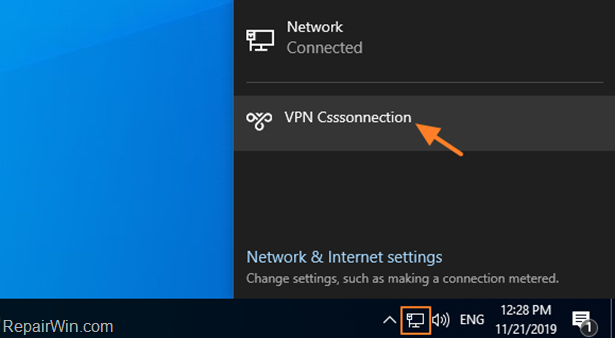
4. Click on the Network icon (on the system tray), to view and connect to the VPN connection.
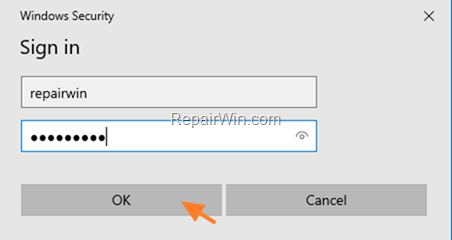
5. Finally type the VPN username and password and click OK to connect.
That’s all folks! Did it work for you? Please leave a comment in the comment section below or even better: like and share this blog post in the social networks to help spread the word about this solution.
Bài liên quan
- FIX: Error 0x81000203 in System Restore. (Solved)
- Cannot Access Shared folder. User has not been granted the requested logon type at this computer. (Solved)
- FIX: Cannot clear TPM – 0x80284001, 0x80290300 or 0x80290304.
- Unable to Schedule Teams Meeting in 15 or 10 minutes slots (Solved)
- How to Share Folder without Username/Password on Windows 10/11.
- FIX: Thunderbird High CPU or Memory Usage issues.

