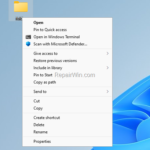
If you want to get the classic right-click context menu in Windows 11, continue reading below. Windows 11 is out there with major changes to the usual Windows design.
One of the big changes is the reduction in the number of direct right-click options, and the lack of important options (such the “Cut”, “Copy”, “Paste”, etc.), which now appear after clicking the “Show More Options” option.
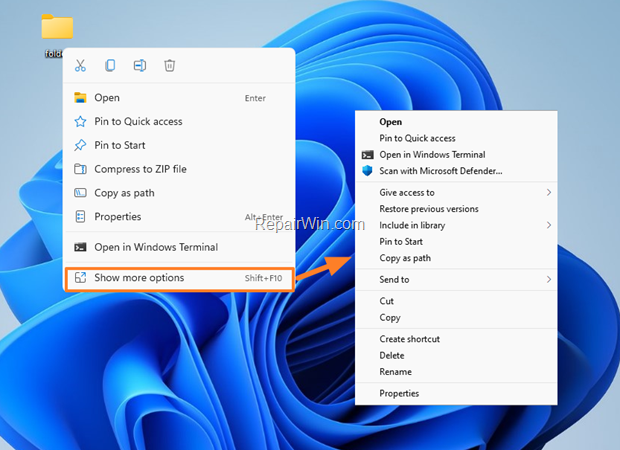
Since this change makes everyday work difficult and inconvenient, here’s how to bring back the classic right-click context menu of previous versions of Windows to Windows 11.
How to Restore the Classic Right-Click Context menu in Windows 11.
To get the Windows 10 Right-Click menu-options in Windows 11:
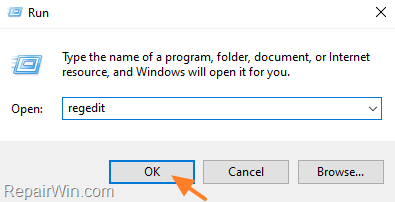
1. Open Registry Editor. To do that:
1. Press Windows
+ R keys to open the run command box.
2. Type regedit and press Enter.
2. Navigate to the following key:
- ComputerHKEY_CURRENT_USERSOFTWARECLASSESCLSID
3. Right-click on CLSID key and select New > Key.
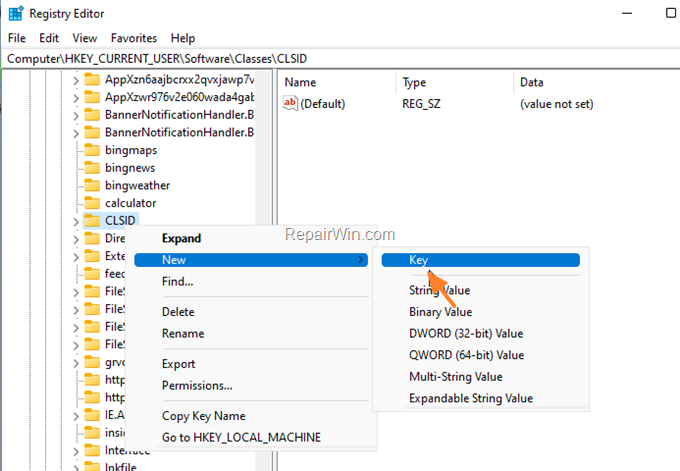
4. Rename the new key as: {86ca1aa0-34aa-4e8b-a509-50c905bae2a2}
* Note: For your convenience, copy-paste the name above including the brackets { } to avoid the mistake.
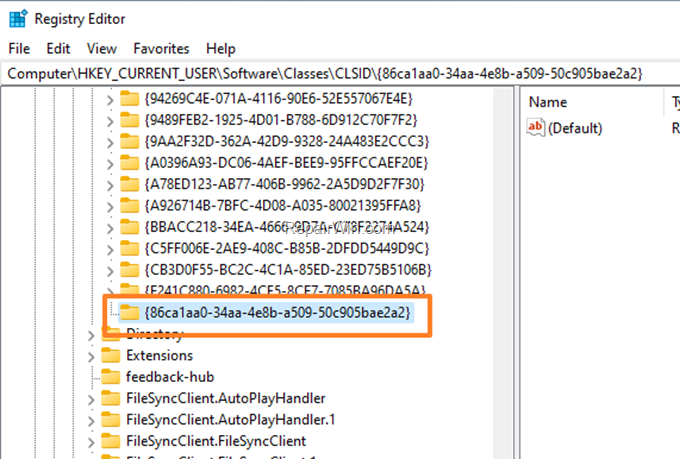
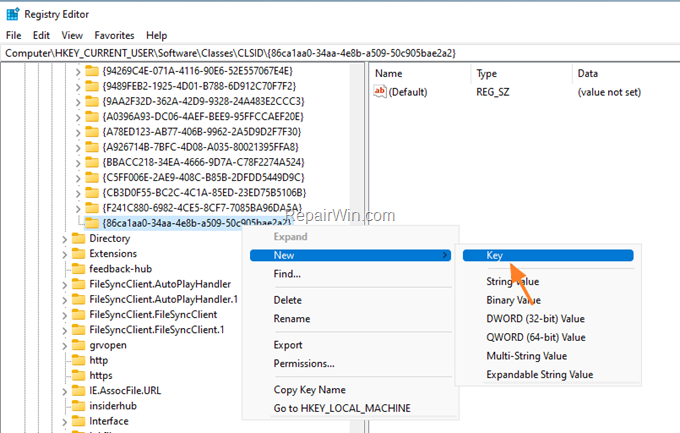
5. Now right click at {86ca1aa0-34aa-4e8b-a509-50c905bae2a2} key and select again New > Key.
6. Give at the new key the name: InprocServer32
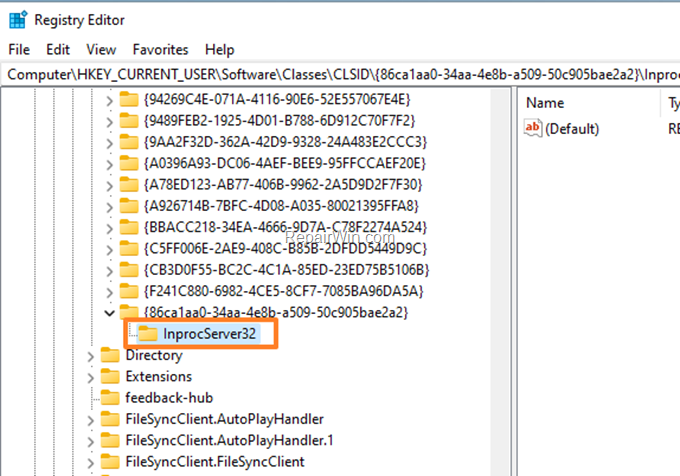
7. Now double-click at the Default value REG_SZ in the right pane.

8. Ensure that the Value Data box is empty and press OK.

9. Close the registry editor and restart your PC.
10. After restarting, you should have the Windows 10 Right-Click context menu in Windows 11.

That’s all folks! Did it work for you?
Please leave a comment in the comment section below or even better: like and share this blog post in the social networks to help spread the word about this problem.

