This tutorial guides through the steps needed to create a new Outlook profile in Outlook 2016, 2013, 2010, 2017 & 2003 versions. At the second part of this tutorial you ‘ll learn how to specify a different Outlook PST file (e.g. the “Outlook.pst” from your old computer) as the default store location for the secondary Outlook profile.
As you may know, when you run Outlook for first time (new Outlook installation), the Outlook program creates a default personal data file (.pst), in order to store all the information (mail, calendar, contacts, etc.) to that data file.
In the previous Outlook versions (2010, 2007 & 2003) the Outlook data file, that created from Outlook (at its first run) has the default name “Outlook.pst” and it is stored at the following location on your disk:
- Windows 10, 8, 7 or Vista:
C:Users<your username>AppDataLocalMicrosoftOutlookOutlook.pst - Windows XP:
C:Documents and Settings<your username>Local SettingsApplication DataMicrosoftOutlookOutlook.pst
In the newer Outlook versions (2016, 2013 & 2010) the Outlook PST data file, has your e-mail’s address name, (e.g. “info@sample.com.pst”) and it is stored by default at the following location on your disk:
- Outlook 2016, Outlook 2013 & Outlook 2010 (Clean install):
C:Users%Username%DocumentsOutlook Files<Your_Email_Address>.pst
How to Add a New or a Secondary Outlook Profile & Use an Existing Outlook PST file as the Default Outlook Storage Location.
Part 1. How to create a New Outlook Profile.
1. Navigate to Windows Control Panel:
- Windows 7, Vista: From Start menu, select Control Panel.
- Windows 10 & 8: Right click at the Start Menu and choose Control Panel.
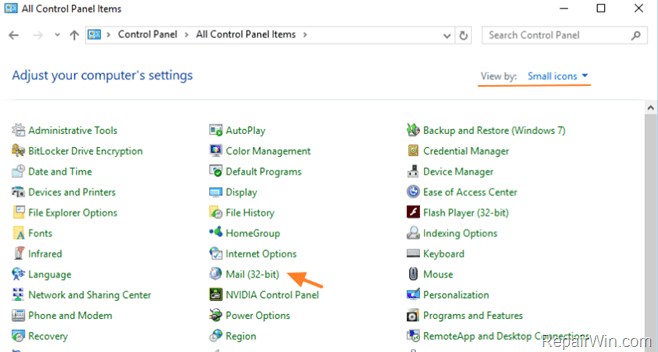
2. Change the View By: to Small icons.
3. Open Mail.
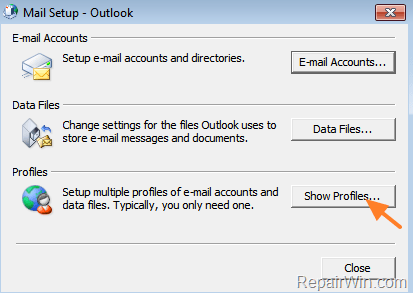
4. Click Show Profiles.
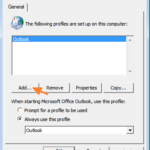
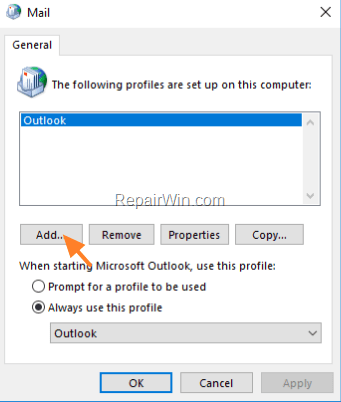
5. Click the Add button.
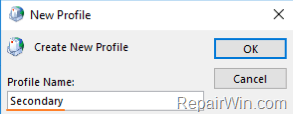
6. Type a profile name. (e.g. Secondary)
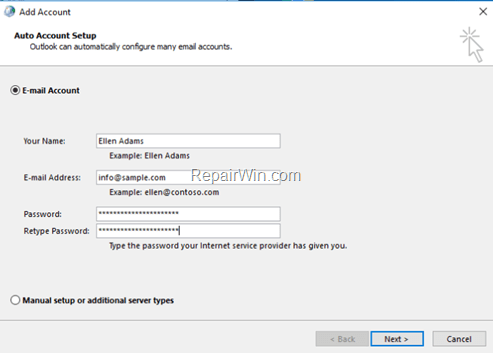
6. At “Add Account” wizard, complete the required fields (Name, E-mail Address, Password, etc.), if you want to setup a new e-mail account with the new profile, or press Cancel, if you want to create the new Outlook profile without adding an account.
7. Finally, check the Prompt for a profile to be used option, in order to choose which profile will be used when launching Outlook and then click OK.
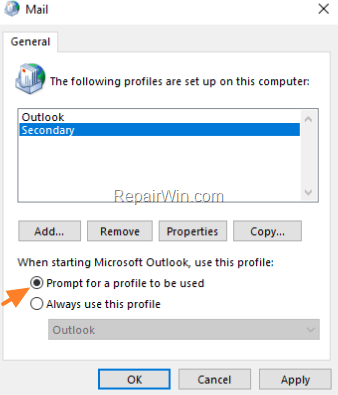
– At this point, you have completed all the steps needed to add the secondary profile in Outlook.
Part 2. Use an existing Outlook PST file with the Secondary Outlook Profile.
– If you want to use, a different Outlook PST data file (e.g. from your old PC), as the default store location for Outlook Personal Folders (mail, contacts, calendar, tasks, etc.):
1. Launch Outlook and select the new created profile.
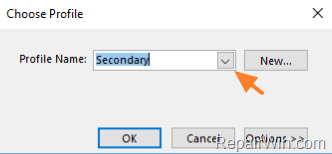
2. Navigate to Tools > Account settings (or if your ‘re using Outlook 2010, 2013 & 2016: from File tab click Account Settings > Account Settings.
3. Click the Data Files tab and click Add.
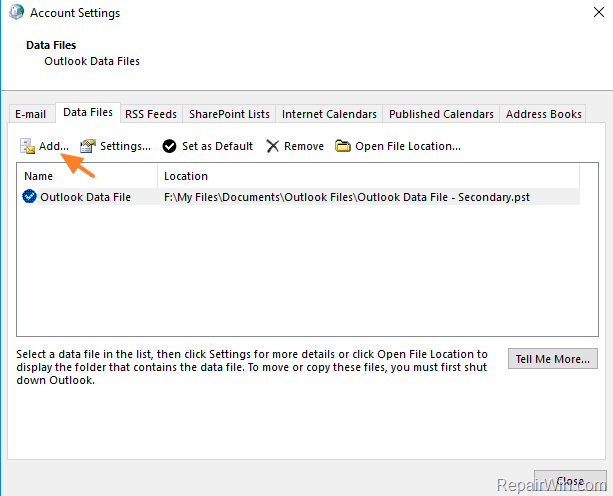
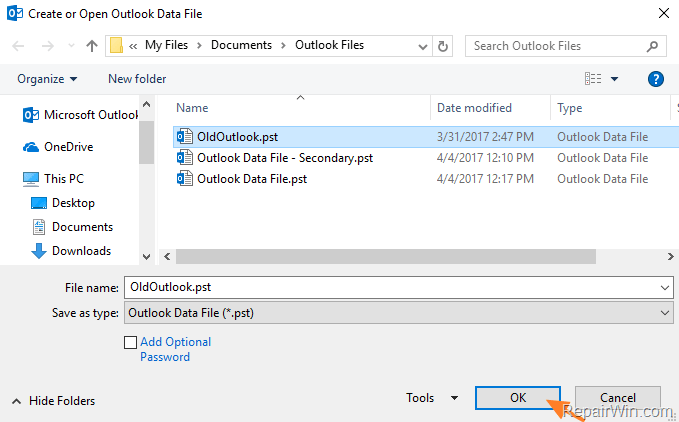
4. Select the old PST file, from your disk and and click OK.
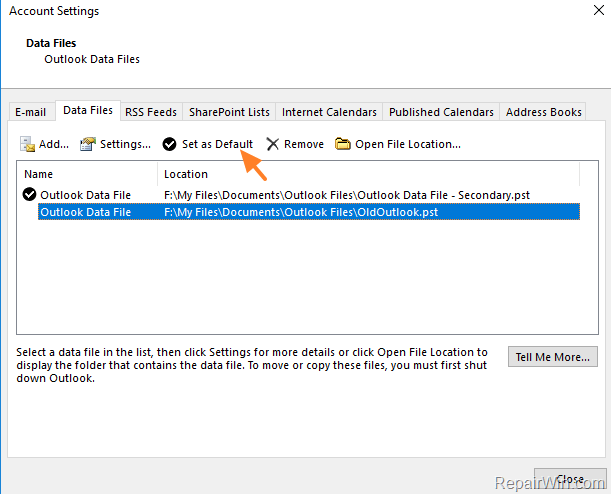
5. Click the Set as Default option.
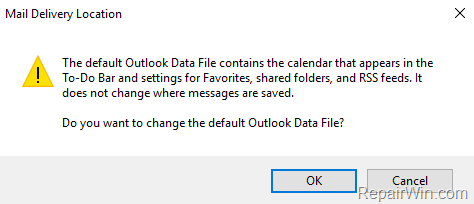
6. Click OK to change the default location for Outlook Calendar and settings.
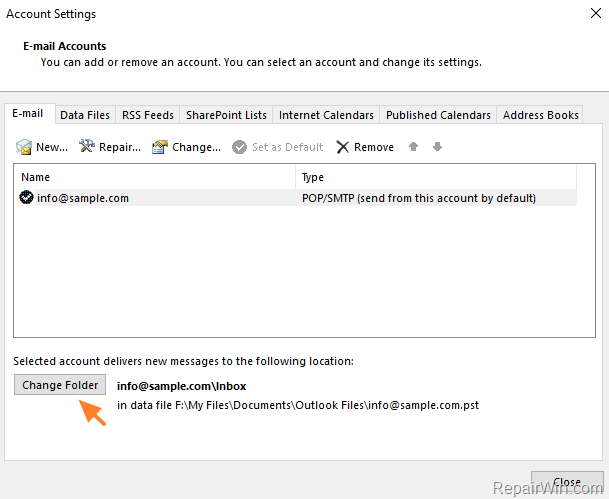
7. If you have setup a new e-mail account when you created the new profile, then select the E-mail tab and click Change Folder. *
* If you haven’t added an email account, then ignore steps 7 & 8 and go to step 9.
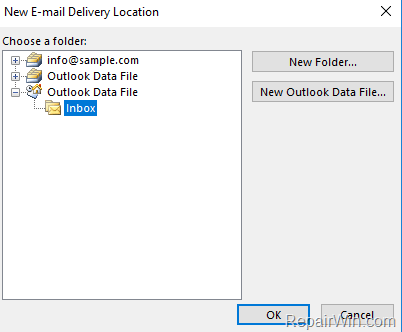
8. Select the Inbox folder, under the default* Outlook data file and click OK.
* Note: The default Outlook Data file have a different icon next to it.
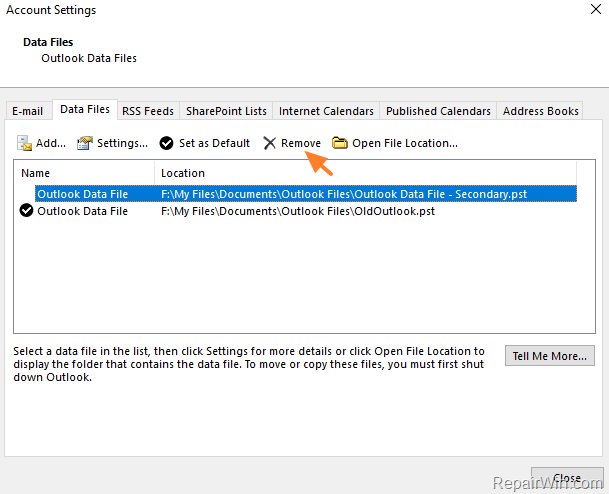
9. The last step, is to remove – from Data Files tab – the empty Outlook PST file, that was created when you added the secondary Outlook profile.
That’s all folks! Did it work for you?
Please leave a comment in the comment section below or even better: like and share this blog post in the social networks to help spread the word about this solution.

