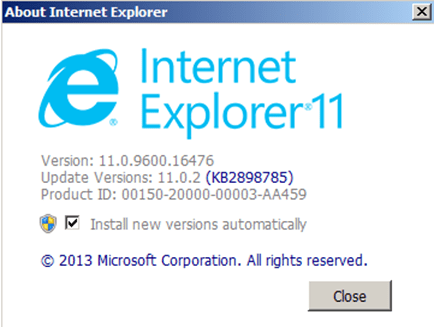
Internet Explorer 11 (or Internet Explorer 10) is delivered and installed automatically on your computer due to Windows Automatic Updates procedure. If you don’t want the latest version of Internet Explorer version installed on your computer, then you can easily remove it by following the next steps.
How to remove the latest version of Internet Explorer.
Step 1: Uninstall “Internet Explorer” from your Control Panel
- Open Windows Control Panel. In case you don’t know how to do that, here is what you have to do:
- For Windows 8/7/Vista click at: Start > Control Panel >Programs and Features.
- For Windows XP click at: Start > Settings > Control Panel > Add or Remove Programs.
- From the left pane select: View installed updates.
- Under “Microsoft Windows” section, select the “Windows Internet Explorer” version that you want to uninstall (e.g. “Windows Internet Explorer 11” or Windows Internet Explorer 10) and click the “Uninstall” option on the top of that window.
- Wait until the removal/uninstall process is completed and restart your computer.
Notes:
If you want to prevent Internet Explorer 10 (or Internet Explorer 11) from being installed in the future then you have to download and install* the following:
- Toolkit to Disable Automatic Delivery of Internet Explorer 10
- Toolkit to Disable Automatic Delivery of Internet Explorer 11
* Read the install instructions on the given links.
That’s all folks! Did it work for you? Please leave a comment in the comment section below or even better: like and share this blog post in the social networks.


