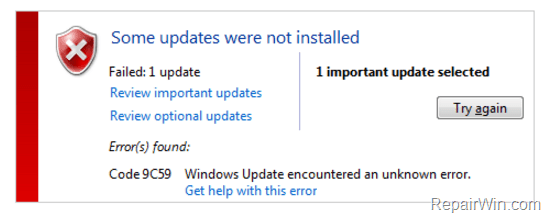
On a Windows 7 SP1 computer the following error is displayed during Windows Update: “Some Updates were not installed – Error(s) found: Code 9C59 – Windows Update encountered an unknown error“. Specifically, the error “Code 9C59” is displayed while Windows tries to install Internet Explorer 11 or Internet Explorer 10.
How to fix: Internet Explorer installation failed with Error 9C59.
To bypass the error code 9C59 and install Internet Explorer 11 (or IE10) on your Windows 7 computer, try the following:
1. Install prerequisite updates for Internet Explorer.
Verify that you have all the prerequisite updates for the Internet Explorer version you try to install. Navigate to the appropriate prerequisite updates link below and manually install the prerequisite updates.
- Prerequisite updates for Internet Explorer 11
- Prerequisite updates for Internet Explorer 10
2. Install Internet Explorer by using an Offline Installer.
Try to manually install Internet Explorer on your computer, by using the Internet Explorer offline installer.
Internet Explorer 11 Offline Installer Download links
- Download Internet Explorer 11 Offline Installer
Internet Explorer 10 Offline Installer Download links
- Download Internet Explorer 10 (32-bit)
- Download Internet Explorer 10 (64-bit)
- Download Internet Explorer 10 for Server 2008 (64-bit)
3. Delete Useless files with Disk Cleanup
Perform a disk cleanup and then try to install Internet Explorer by using the Offline installer.
To perform a disk cleanup:
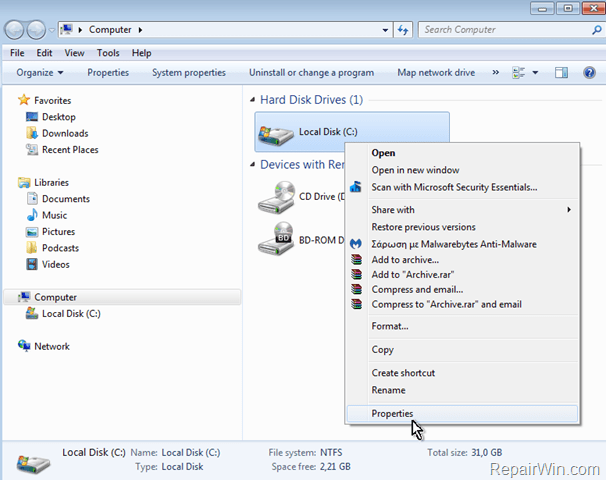
1. Open Windows Explorer.
2. Right click on disk C: and select Properties.
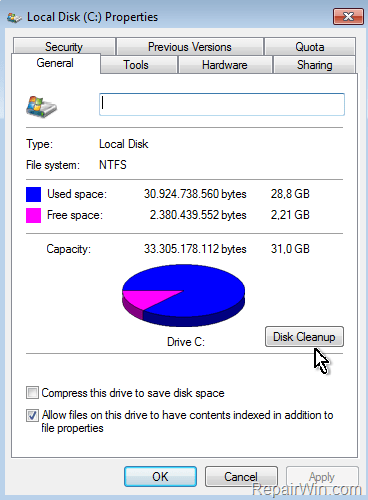
3. Press the Disk Cleanup button.
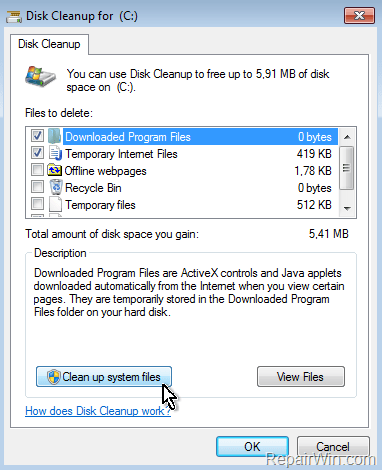
4. At Disk Cleanup options, click the “Clean System Files” button. *
Note *: At this point the Disk Cleanup tool will close and re-open.
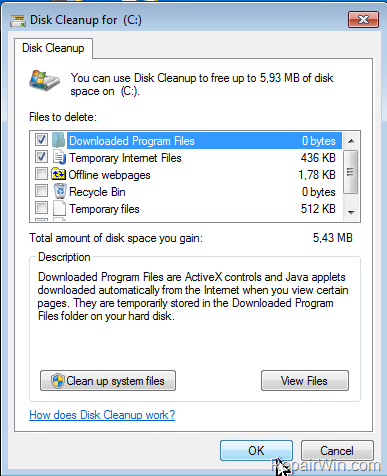
4. When the disk cleanup tool open again click OK to delete the remaining useless files.
4. Uninstall all previous versions of Internet Explorer.
Uninstall all previous versions of Internet Explorer and then try to re-install Internet Explorer by using the Offline Installer.
To uninstall all previous versions of IE:
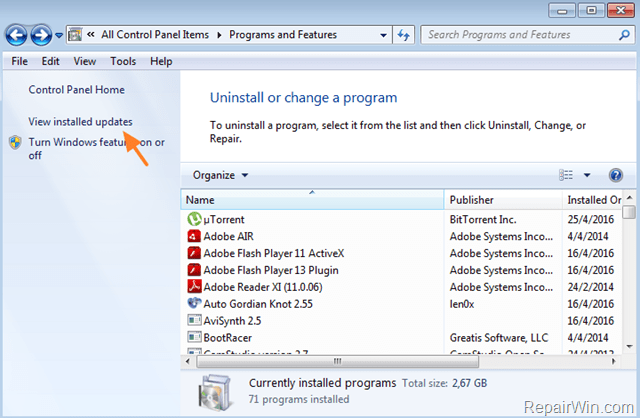
1. Navigate to Control Panel -> Program and Features.
2. Click at View Installed Updates option on the left.
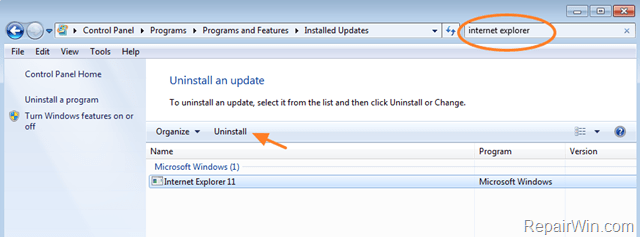
3. At the search box type “Internet Explorer” and to easily find the installed Internet Explorer application.
4. Select the Internet Explorer 10 (e.g. IE 10) and click Uninstall.
5. Restart you computer.
6. Perform the same steps and uninstall the Internet Explorer 9.
7. Restart your computer.
8. Try to install IE 11 again (by using the Offline installer).
If the installation fails again then:
9. Open an elevated command prompt. (Start -> All Programs –> Accessories –> right click on Command Prompt and select “Run as Administrator“)
10. In command prompt window, type (copy & paste) the following command and hit OK:
FORFILES /P %WINDIR%servicingPackages /M Microsoft-Windows-InternetExplorer-*11.*.mum /c “cmd /c echo Uninstalling package @fname && start /w pkgmgr /up:@fname /norestart”
11. When the command is executed, close command prompt window and restart your computer again.
12. Try to Install Internet Explorer 11.
That’s all! Did it work for you?
Please leave a comment in the comment section below or even better: like and share this blog post in the social networks to help spread the word about this solution.

