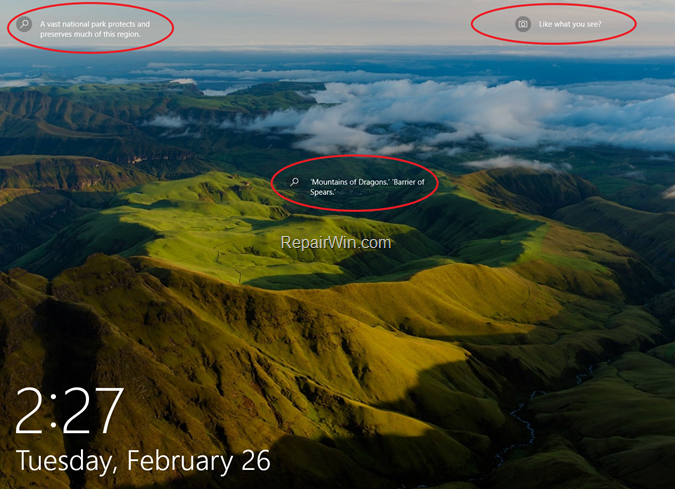
In Windows 10, Microsoft has added the Windows Spotlight feature, which is responsible for all the background images, tips and links you see in the lock screen. In this tutorial, you ‘ll find detailed instructions on how to remove all the Spotlight items (Like What you see, Fun facts, Tips etc.). from the lock screen in Windows 10 Home, Pro, Enterprise and Education editions.

How to Remove Fun facts, tips, tricks and more…from Lock screen in Windows 10.
- Windows 10 Home.
- Windows 10 Professional, Enterprise & Education.
How to Turn-Off Windows Spotlight items in Windows 10 Home.
To remove the fun facts, tips, tricks on lock screen in Windows 10 Home.
1. Right-click at an empty space on your desktop and select Personalize. *
* Alternately: Go to Start menu ![]() , click Settings
, click Settings ![]() and then click Personalization.
and then click Personalization.

2. In Personalization settings, select Lock Screen at the left and then at Background options, set one of the other choices (e.g. Picture or Slideshow) to disable the Windows Spotlight.

3. Then Turn Off the “Get fun facts, tips and more from Windows and Cortana on your lock screen”

How to Turn-Off Spotlight items in Windows 10 Pro, Enterprise & Education versions.
To disable the Windows Spotlight items (Like What you see, Fun facts, Tips etc.), by using the Group Policy editor:
1. Press simultaneously the Windows ![]() + R keys to open the run command box.
+ R keys to open the run command box.
2. Type gpedit.msc & Press Enter.

3. At the left pane navigate to:
- Computer Configuration > Administrative Templates > Control Panel > Personalization
4. At the right pane, double click at Force a specific default lock screen and logon image.

5. Now, modify this policy setting as follows and then click OK:
a. Check Enabled.
b. Type the full image path, of the image that you want to use as background at the Lock screen. *
c. Check “Turn Off fun facts, tips, tricks and more on lock screen”
* TIP: You can use your own image for lock screen background, or you can make your life easier and use one of the default Windows lock screen images, which are stored at the following folder on your PC: C:WindowsWebScreen

That’s all! Did it work for you?
Please leave a comment in the comment section below or even better: like and share this blog post in the social networks to help spread the word about this solution.


