System Restore is a Windows feature that included for free on Microsoft’s latest operating systems (Windows 10, 8.1, 8, 7, Vista & XP), that takes snapshots in real time (Shadow Copies) of your operating system’s situation. By using the System Restore you can restore your Windows based system, to a previous date/working state without affecting your files and settings.

This guide contains instructions on how to restore your computer to a previous working state by using the System Restore feature, on Windows 10, 8.1 or 8 OS.
How to Start System Restore on Windows 10 or Windows 8/8.1.
Method 1. Start System Restore from Windows.
If your system boot normally in Windows then:
1. Press Windows ![]() + R keys to open the run command box.
+ R keys to open the run command box.
2. Type rstrui & click OK.

3. Click Next at the first screen.
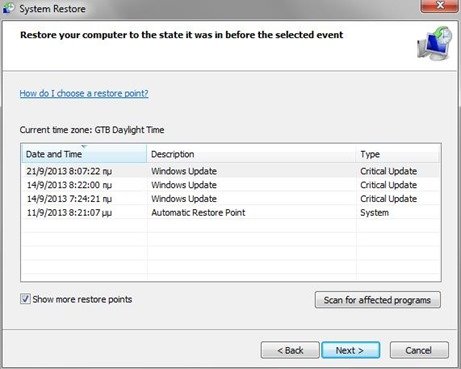
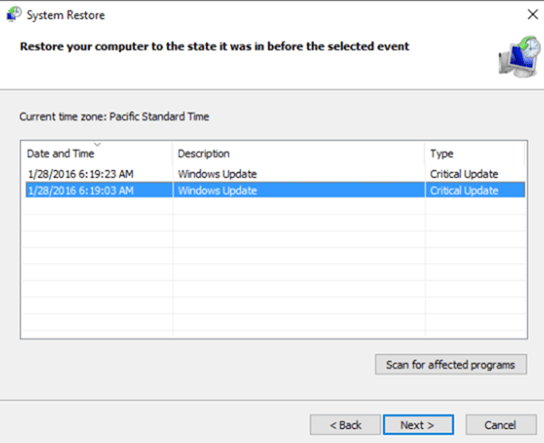
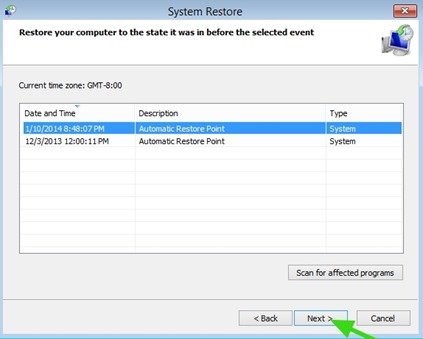
4. Choose an earlier working state (Date/Time) and click Next to start the restore process.

Method 2. Start System Restore from Windows Advanced Options.
To get into System Restore Mode from Windows Advanced Options on Windows 10, 8.1 or 8 OS :
1. Click the Power option/button.
2. Hold down the SHIFT key and choose Restart.
3. When your computer restarts, press the “Troubleshoot” option.
4. At “Troubleshoot” window, click “Advanced options”.

5. At “Advanced options” screen, press “System Restore”.

(The computer restarts.)
6. Choose an account with administrative rights.

7. Type the password for this account and click “Continue”.

8. At “System Restore” screen, press “Next”.
9. Choose an earlier restore point and press “Next”.

10. Confirm your selections and press the “Finish” button.
11. Wait until your PC is restored to the selected restore point.
12. When the System Restore process is completed, start working with your PC again!
That’s all folks! Did it work for you? Please leave a comment in the comment section below or even better: like and share this blog post in the social networks to help spread the word about it.


