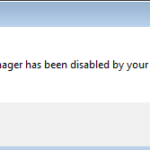
If you receive the “Task Manager has been disabled by your administrator” error message or the Task Manager option is missing from “Ctrl+Alt+Delete” options, then read this tutorial to fix the issue. The “Task Manager has been disabled by your administrator” error message is commonly appeared because the computer is infected by a virus which has disabled the Task Manager or because – in some cases – your system administrator has applied a restriction on your network in order to to disable the Task Manager.

In this tutorial you ‘ll find detailed instructions to fix the following problems in Windows XP, Vista, 7, 8 or Windows 10: “Task Manager has been disabled by your administrator” & Task Manager is Missing from Ctrl-Alt-Delete options.
How to FIX: Task Manager has been disabled by administrator.
As I said above, the “Task Manager has been disabled by administrator” error message, commonly is displayed after a virus infection. So, the steps 1-5 in this guide, will help you to clean your computer from malware programs and the step 6 shows how to re-enable the Task Manager on your system.
Step 1. Start your computer in Safe Mode with Networking.
First of all you have to boot your computer into safe mode to prevent malware programs from running. To do that:
- Windows 7, Vista & XP:
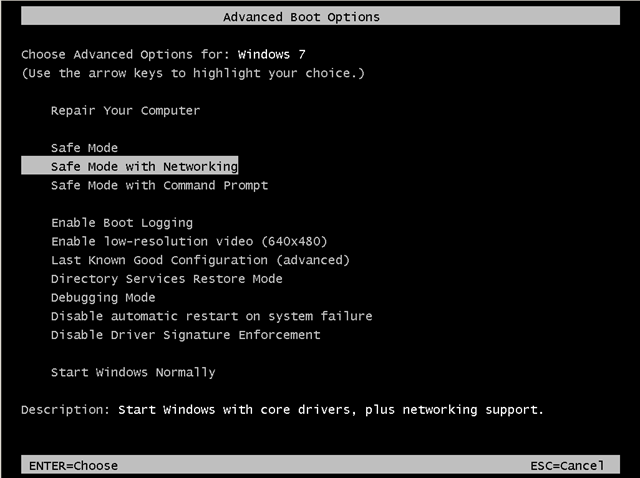
- Restart your computer and hit the “F8” key while your computer is starting up (before the appearance of Windows Logo).
- When “Advanced options” menu appears on your screen, navigate to “Safe Mode with Networking” option (using your keyboard arrow keys) option and hit Enter.
- Windows 10, 8.1/8 or 7:
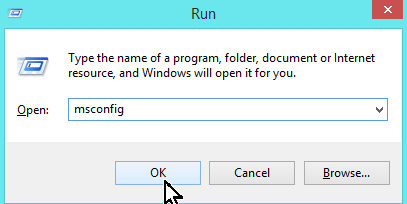
- Press “Windows” + “R” keys to open the RUN window.
- Type msconfig & press OK.
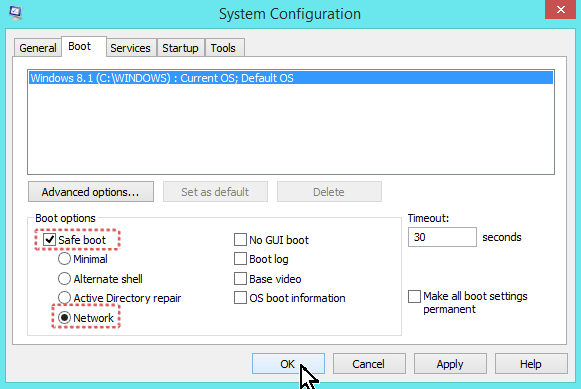
- Click the Boot tab.
- Select the Safe Boot & Network options & click OK.
- Restart your computer.
Step 2. Remove Adware programs with AdwCleaner.
– AdwCleaner is a freeware utility that can clean your computer from adware programs.
1. Download AdwCleaner utility to your desktop.
2. Close all open programs and run AdwCleaner.exe.
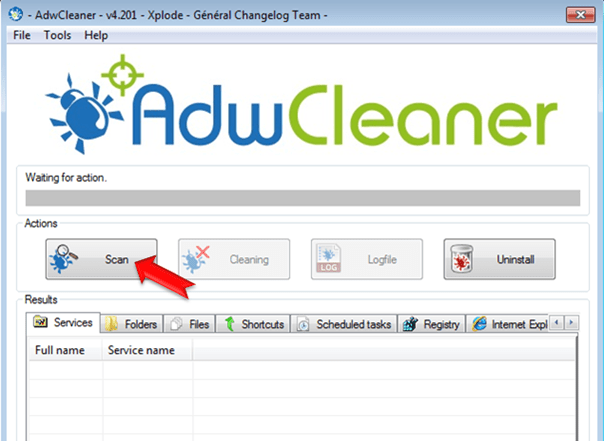
3. At the main window, press the “Scan” button and wait until the scan is completed.
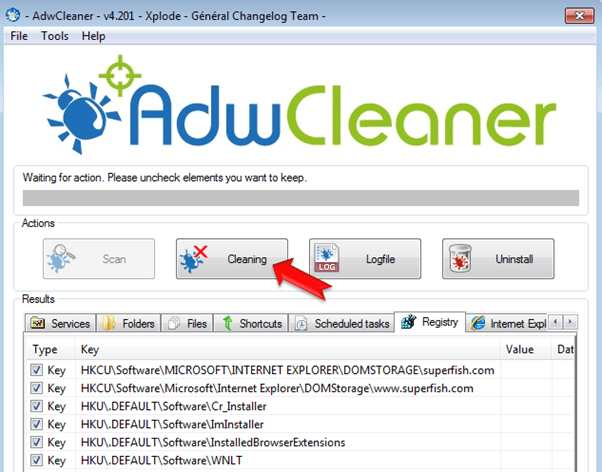
5. When the scan process is completed, press the Cleaning button to remove all adware programs detected.
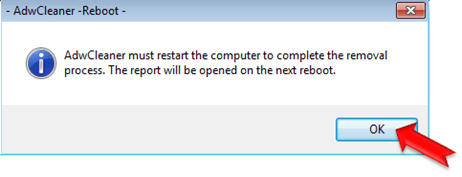
6. When prompted, press OK to restart your computer.
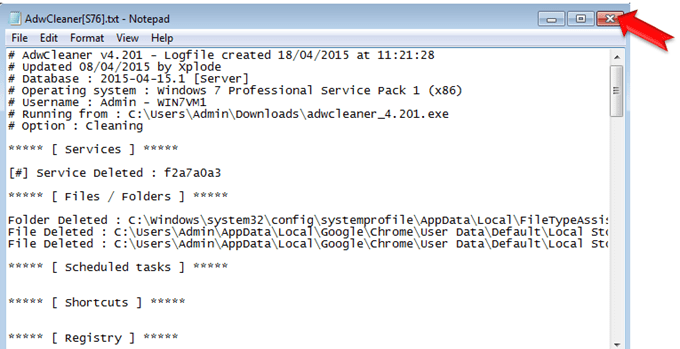
* Note: After restart, close the AdwCleaner report. The report contains the adware programs, registry keys and files that removed by AdwCleaner. If you want to examine its contents later, you can find the log file at “AdwCleaner” folder on the root drive. (e.g. “C:AdwCleanerAdwCleaner.txt)
Step 3: Remove Junkware files with JRT.
1. Download and save JRT-Junkware Removal Tool on your desktop.
2. Run JRT and press a key to start the scan.
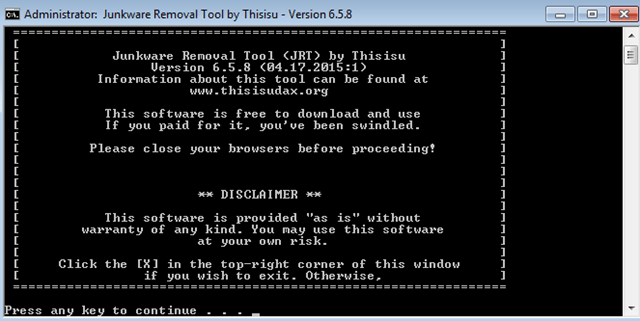
3. Be patient until JRT scans and cleans your system from Junkware.
4. When the Junkware Removal Tool scan is completed, close the JRT log file and then reboot your computer again.
Step 4: Remove Malware programs with MalwareBytes Antimalware.
1. Download and install Malwarebytes 3.0 Free. *
* Note: Keep in mind that after the 14-day trial period, Malwarebytes reverts to a free version but without the full real-time protection.
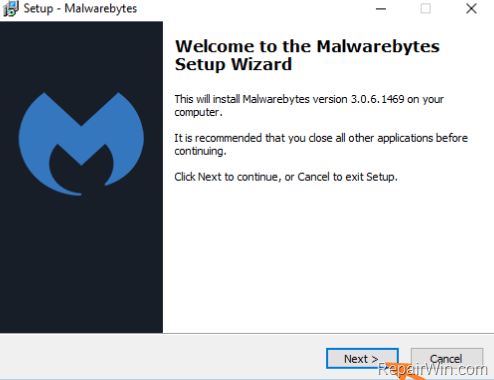
2. Run Malwarebytes Anti-Malware and wait until the program updates its Malware Database.
3. Press the Scan Now button and then wait until the scan process is finished.

4. When the scan is completed select all items found and then press Quarantine All.
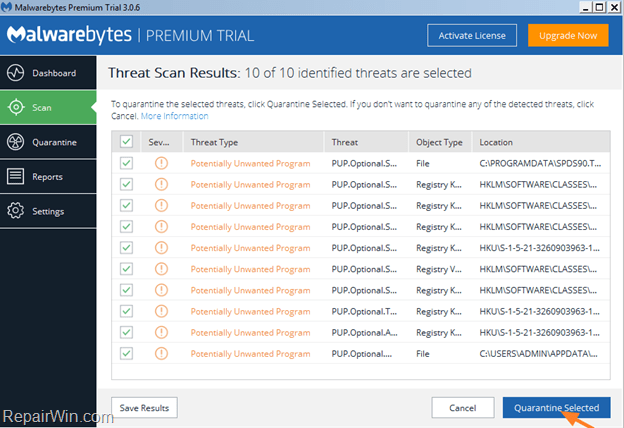
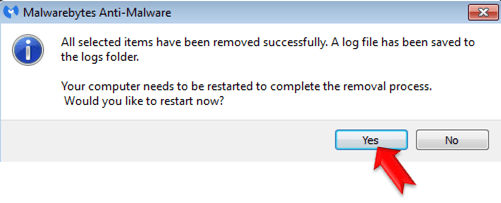
5. Restart your computer if needed and continue to the next step.
Step 5. Terminate and remove malicious processes with RKILL.
– RKill is a program that was developed at Bleepingcomputer.com that attempts to terminate known malware processes so that your normal security software can then run and clean your computer of infections. Additionally, the RKILL utility, examines the current status and configuration of some essential Windows components (Firewall, System Restore, etc.) and displays the scanning results in a helpful log file.
- Download and run RKILL.
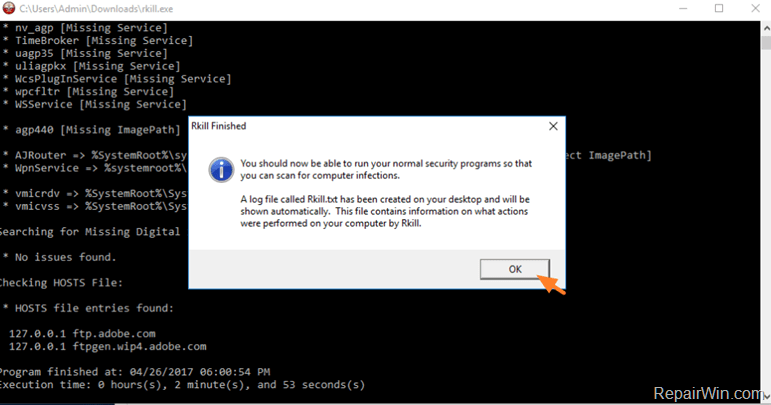
- Be patient while RKILL terminates the malicious processes.
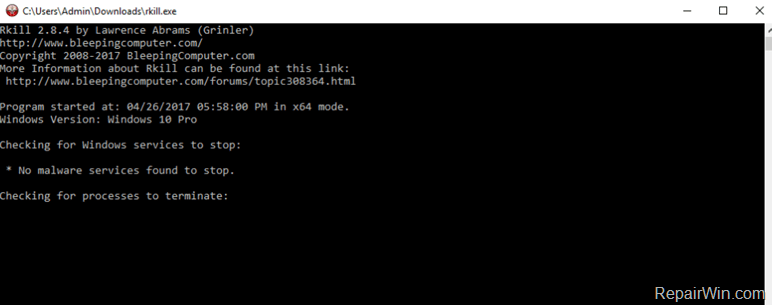
- When the RKILL completes its job, click OK.
Step 6. Enable Task Manager from Registry.
- Open open Registry Editor. To do that:
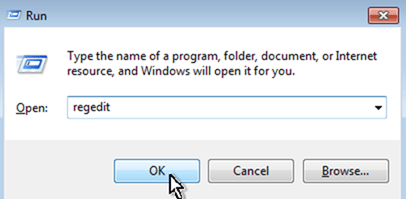
- Simultaneously press “Windows” + “R” keys to open the RUN window.
- In “RUN” window “Open” box, type: regedit
- Press Enter.
- Open open Registry Editor. To do that:
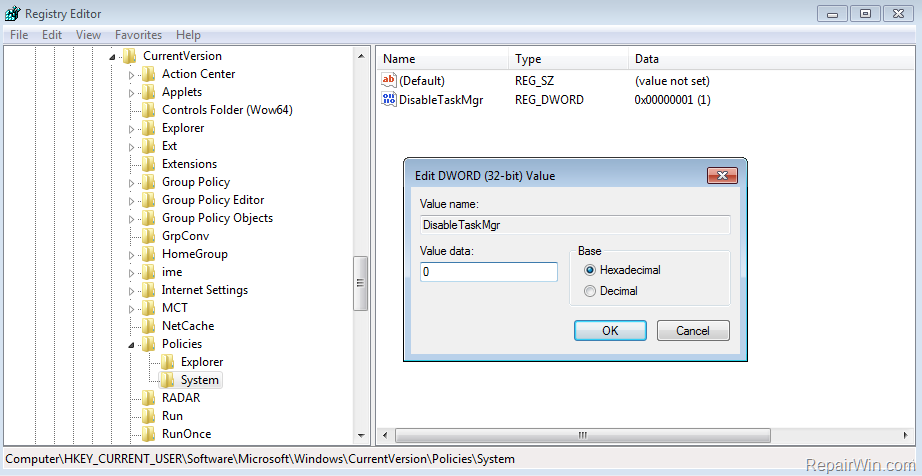
- From the left pane, navigate to the following keys (one by one):
- HKEY_CURRENT_USERSoftwareMicrosoftWindowsCurrentVersionPoliciesSystem
- HKEY_LOCAL_MACHINESoftwareMicrosoftWindowsCurrentVersionPoliciesSystem
- HKEY_USERS.DEFAULTSoftwareMicrosoftWindowsCurrentVersionPoliciesSystem
- At the right pane delete the DisableTaskMgr value, from all the above registry keys, or modify the value data from 1 to 0.
- Close Registry Editor* and restart your computer.
That’s all folks! Did it work for you?
Please leave a comment in the comment section below or even better: like and share this blog post in the social networks to help spread the word about this solution.

