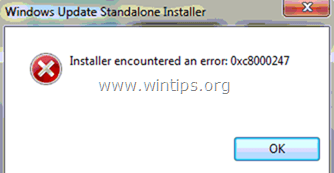
The Error Code 0xC8000247, commonly is faced while Windows tries to search and install updates through Automatic Update Service or when the user tries to install manually a specific Windows Update by using the Windows Update Standalone Installer, on a Windows 7 or Vista based computer. Other symptoms of the “0xC8000247” problem is that Microsoft Security Essentials (or Windows Defender) cannot update or download the virus database (definitions).
When the “0xC8000247” issue is faced, the user may receive one of the following error messages:
“Windows Update Service is not running”
“Windows Update could not run”
“Installer encountered an error: 0xC8000247”

In this tutorial you ‘ll find the most efficient methods to resolve the 0xC8000247 error in Windows Update (Windows Standalone Installer encountered an error: 0xC8000247).
How to fix Windows Update Error 0xC8000247 in Windows 7 or Vista.
Method 1: Install Servicing stack update for Windows 7
1. Download and install the latest Servicing stack update for Windows 7.
2. After installation, restart your PC.
3. Finally, go to Windows Update Center and check if the Error 0xC8000247 has been resolved.
Method 2: Update the Intel Rapid Storage Technology Driver.
Install the latest Intel Rapid Storage Technology Driver (Intel RST), from your computer’s manufacturer support site.
– If you own a HP Laptop, then you can download the Intel Rapid Storage Driver from http://support.hp.com/gb-en/document/c02219204 or from ftp://ftp.hp.com/pub/softpaq/sp47501-48000/sp47845.exe (direct link).
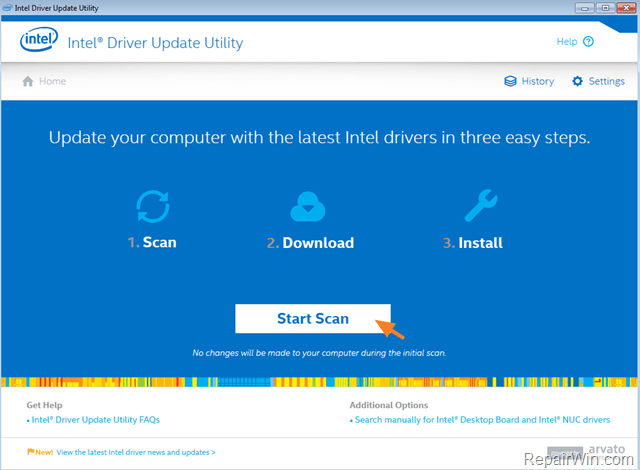
– Additionally, you can download the latest IRST driver from Intel® Rapid Storage Technology (Intel® RST) Download Center or to use the Intel® Driver Update Utility to find and install the missing drivers automatically.

Method 3. Uninstall the Intel Matrix Storage Driver.
In other occasions the solution to resolve the Windows Update error 0xC8000247, is to uninstall the Intel Matrix Storage driver. To do that: *
* Attention: If the Intel Matrix Storage Driver acts as a RAID controller at two or more hard drives (RAID 0, RAID 1, RAID 5, etc..) , then the below steps will break the configured RAID level and you will lose your data. At this case, do not aptly the below steps and try to find another solution.
1. Navigate to Windows Control Panel > Programs and Features.
2. Select the Intel Matrix Storage Driver and click Uninstall.
3. After uninstall, restart your computer and then check for updates.
That’s all! Did it work for you?
Please leave a comment in the comment section below or even better: like and share this blog post in the social networks to help spread the word about this solution.


